Reliable 24V to 12V Converter NZ – RFI-Filtered Power Solutions
Finding Your Perfect 24V To 12V Converter Match
Let's chat about 24V to 12V converters. Having worked with power systems across New Zealand – from tractors in Canterbury to boats in Auckland Harbour – I've noticed a common mistake: choosing converters based solely on price or brand recognition. The real focus should be on your specific power needs and the converter's operating environment. A 24V to 12V converter powering a GPS in a logging truck has very different requirements than one running cabin lights on a yacht.
This isn't just theory. I once helped a client whose new campervan fridge kept shutting down. The culprit? A cheap 24V to 12V converter that couldn't handle the fridge's startup surge. Upgrading to a converter with a higher continuous rating fixed the problem. Peak ratings are tempting, but the continuous rating tells you the converter's true long-term capacity.
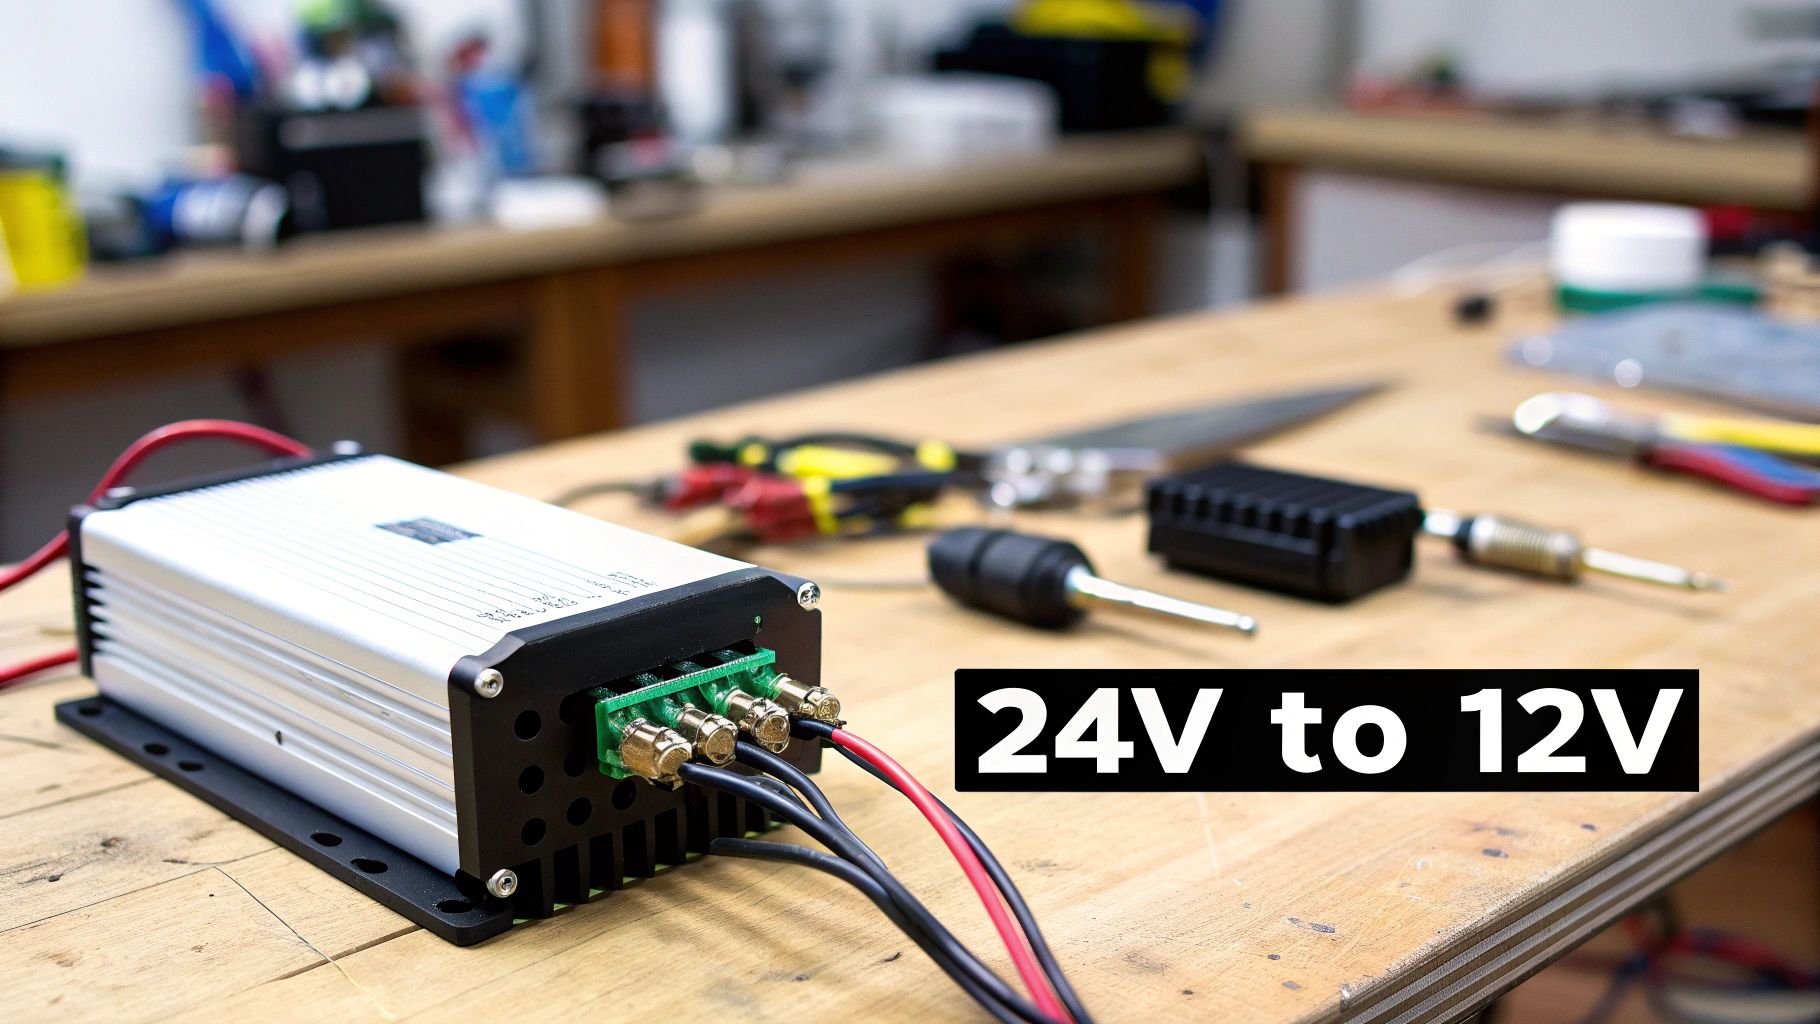
So, how do you choose the right converter? First, figure out your actual power requirements. Add the wattage of everything you'll be powering, including those crucial startup surges – which can be 2-3 times the normal running wattage. For instance, an 8-amp RFI-filtered 24V to 12V converter might be suitable. You can check out an example here.
Next, consider your operating environment. Will the converter be exposed to moisture, extreme temperatures, or vibration? This will influence the casing and mounting you'll need.

Finally, think about isolation. Do you need galvanic isolation to protect sensitive electronics, or is basic voltage conversion sufficient? This is especially important in marine environments where stray currents can cause corrosion. The increasing need for robust power solutions is evident across various sectors in New Zealand, even impacting aerospace applications. You can find more information on the New Zealand power converter market here.
Getting these basics right upfront saves you headaches and money later. A properly selected 24V to 12V converter is a worthwhile investment in the reliability of your equipment – whether you're on the farm, at sea, or on the road.
Why RFI Filtering Makes All The Difference In NZ

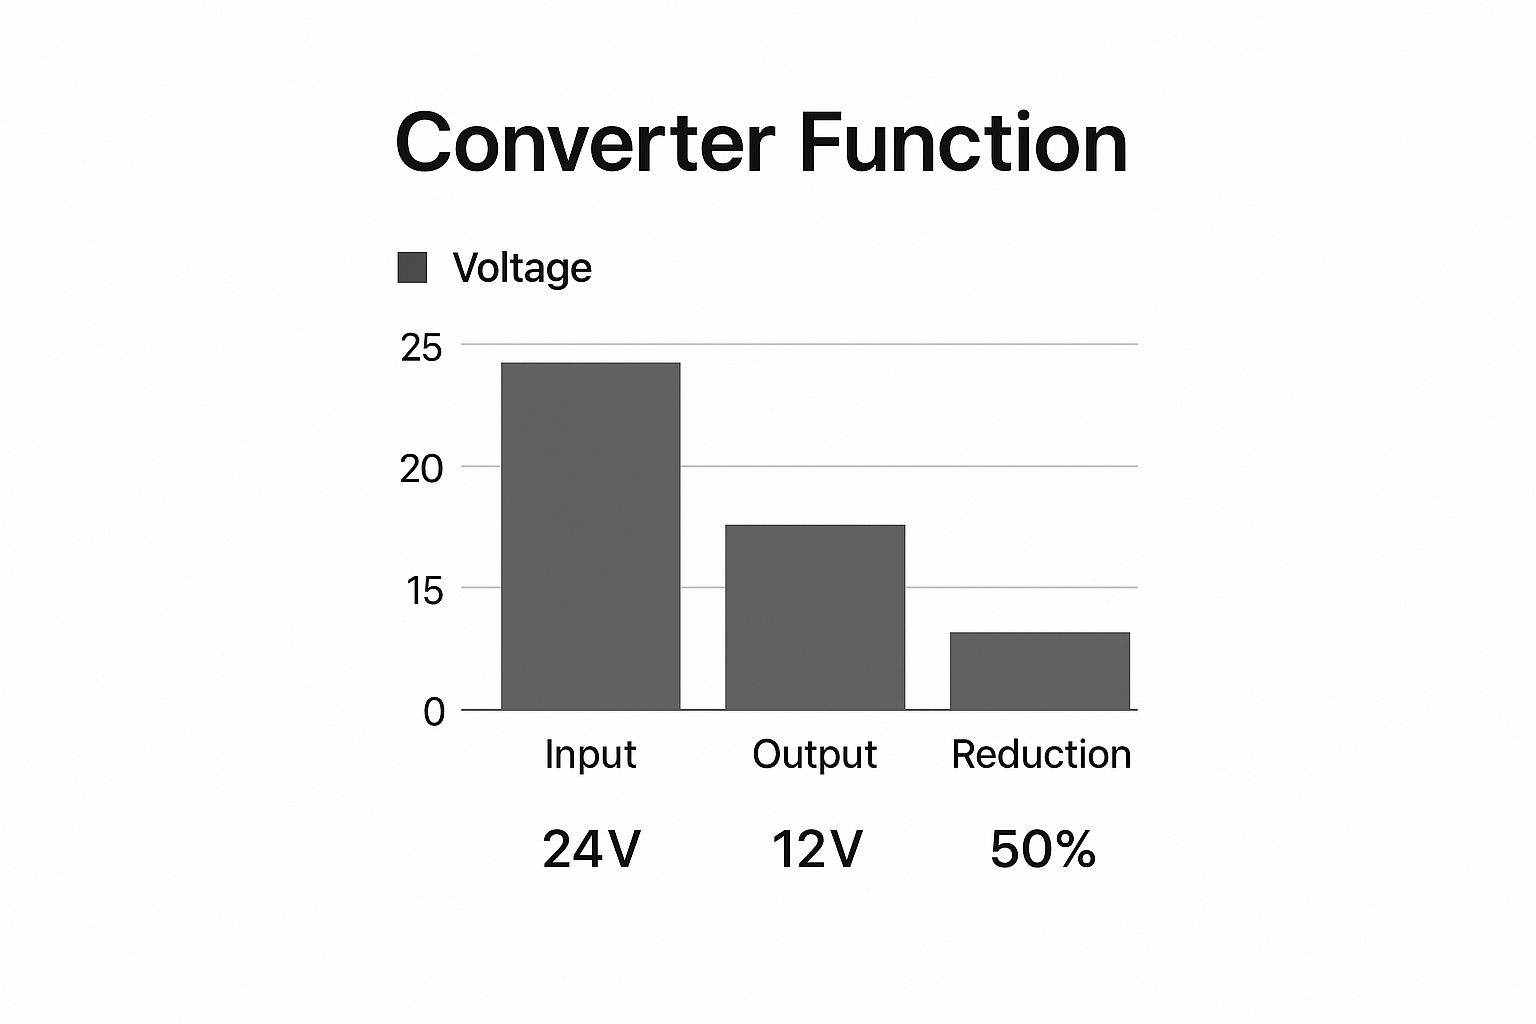
The infographic shows how a 24v to 12v converter works: It takes 24V and knocks it down to 12V – a 50% reduction. Sounds simple, right? But things get tricky in the electrically noisy environments common in many NZ applications. Picture this: your ute’s radio crackling with static every time the winch kicks in, or your boat's fish finder blanking out when you start the engine. That’s Radio Frequency Interference (RFI), and it’s often caused by cheap, non-filtered converters.
Here in New Zealand, we're tough on our electronics. Think farm machinery bumping around near sensitive GPS systems, or marine electronics battling constant salt spray. A basic 24v to 12v converter might work fine in the workshop, but out in the field? It's a different story. This is where RFI filtering becomes essential. Choosing a converter with good RFI suppression can make the difference between a clear radio signal and constant static, or a reliable navigation system and one that’s constantly sending you off course.
NZ Compliance and Environmental Factors
New Zealand has electromagnetic compatibility rules to minimize electronic interference. A Class B compliant converter ensures you’re meeting those standards. It might seem like an extra expense upfront, but avoiding interference with crucial systems like navigation and communication? Absolutely worth it. The DC-DC converter market, including 24V to 12V converters, is influenced by global and regional trends. In the Asia Pacific region, including New Zealand, the market is projected to grow due to technological advances and industrial expansion. Learn more about market trends.
And let's not forget New Zealand's fluctuating humidity and temperature swings. These conditions can significantly affect a converter's lifespan and performance. A well-built, RFI-filtered 24v to 12v converter, designed to handle these conditions, ensures your system stays reliable, no matter the weather. Protecting your electronics with a quality converter is just good sense, whether you’re in the North or South Island.
To help you choose the right converter, I've put together a comparison table:
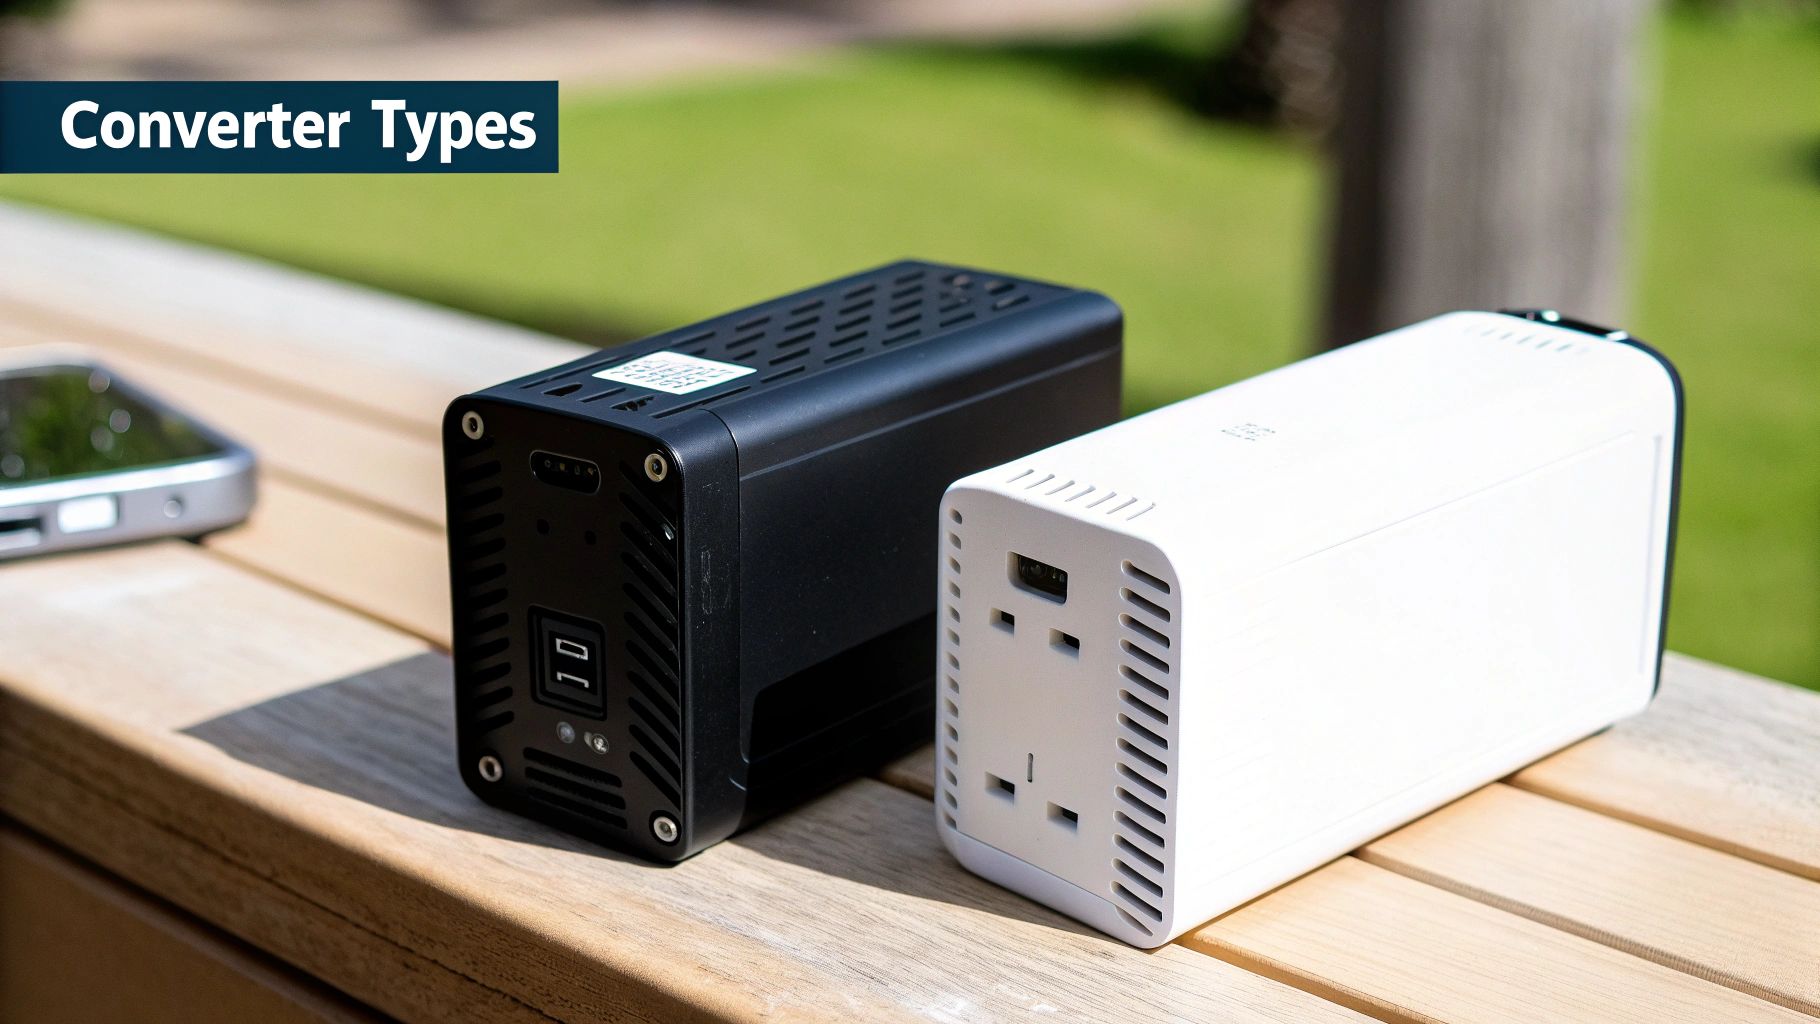
Before we dive in, here's a quick rundown of different RFI-filtered 24V to 12V converters suitable for New Zealand conditions, covering marine, automotive, and industrial applications. This table highlights key differences and similarities to help you make the best choice for your needs.
| Converter Type | RFI Class | Max Current | NZ Compliance | Best Use Case | Price Range |
|---|---|---|---|---|---|
| Basic Switching Converter | None | 10A | No | Basic applications, non-sensitive electronics | $20 - $50 |
| Filtered Switching Converter | Class B | 15A | Yes | Automotive, basic marine | $50 - $100 |
| High-Performance Switching Converter | Class A | 20A | Yes | Demanding marine, industrial, agricultural | $100 - $200 |
| Isolated DC-DC Converter | Class A | 30A | Yes | Sensitive electronics, high-current applications | $200+ |
After reviewing the table, it becomes clear that selecting the right converter involves balancing cost, performance, and compliance needs. For basic applications, a less expensive option might suffice. However, for sensitive electronics or harsh environments, investing in a high-performance, compliant converter offers long-term reliability and peace of mind.
Installation Secrets That Actually Work Long-Term

Let's talk 24v to 12v converter installations. It's not just about hooking up wires; it's about building a system that can handle anything New Zealand throws at it. Think rugged South Island terrain, salty coastal air – your setup needs to be robust. A poorly chosen spot or weak wiring can mean a converter that lasts months instead of years. Trust me, I've seen it happen.
Mounting: Location, Location, Location
Finding the right spot is key. Consider vibration, temperature, and moisture. The engine bay might seem convenient, but the heat and constant shaking can dramatically shorten your converter's life. I've even seen them vibrate apart! Instead, look for somewhere more protected. Under the dash or in a dedicated electronics compartment is often a good choice. On a boat? Find a dry, well-ventilated spot away from bilge water.
And don't forget about secure mounting! Use strong brackets. Ditch those flimsy zip ties. Remember our roads and seas can be rough. For boats, stainless steel hardware is your friend to fight corrosion. If you're in a logging truck, look into vibration-dampening mounts – they're a game-changer.
Wiring: Size Matters (and So Does Material)
Correct wire size is critical for preventing voltage drop and overheating. This is especially true for high-current setups. A thin wire with a heavy load is like a tiny heater, wasting energy and creating a fire hazard. Use a wire gauge chart to select the right size based on your converter's current rating and the wire length.
The wire material itself matters, too. Regular automotive wire might be fine for some installs, but if you’re dealing with harsh conditions, marine-grade tinned copper wire is worth the investment for its corrosion resistance. And a bit of heat shrink tubing at each connection adds another layer of protection against moisture and abrasion.
Grounding: More Than Just a Wire
Proper grounding isn't just about safety; it’s also about performance. A bad ground connection can cause electrical noise, messing with sensitive electronics. It's also a shock hazard. Find a clean, unpainted metal surface for your ground connection. Use a dedicated grounding wire – don't rely on the vehicle chassis.
Thermal Management: Keeping Cool Under Pressure
Heat is the enemy of electronics. Make sure there’s enough ventilation around your converter. If it's enclosed, a small fan can provide active cooling. This is especially important in high-temperature situations, like a campervan parked in the summer sun.
These tips aren’t just theory; they're based on real-world experience dealing with New Zealand's challenging conditions. Follow these guidelines, and your 24v to 12v converter will be humming along for years to come.
Professional Wiring For New Zealand Conditions
New Zealand's climate isn't always friendly to your vehicle's electrical system. The intense UV radiation can degrade wiring insulation, salty air corrodes terminals, and fluctuating temperatures stress every connection. Then you've got the constant vibrations, slowly shaking things loose on and off-road. Trust me, I've spent hours tracking down electrical problems that all traced back to connections that looked perfectly fine when first installed, but just couldn't handle the long haul.
Connection Techniques That Last
So, what's the secret to wiring that can withstand New Zealand's harsh conditions? It all starts with quality crimp connectors and proper use of heat-shrink tubing. A good crimp connection creates a gas-tight seal, preventing corrosion from getting a foothold. The heat shrink adds another layer of protection from moisture and UV damage.
Strain relief is another critical factor that’s often overlooked. Make sure your wires aren't constantly tugging on the connections. Cable ties are fine for lighter applications, but for anything exposed to serious vibrations, I recommend adhesive-lined heat-shrink or sturdy cable clamps. You might also want to check out this article on antenna information, as proper antenna installation often goes hand-in-hand with robust wiring practices.
Routing and Fusing For NZ
Think carefully about your wire routing. Avoid running wires near anything hot or sharp edges that could cause damage. Whenever possible, use conduit or wire loom to protect against chafing and abrasion. Good routing also helps minimize electromagnetic interference (EMI), which can cause all sorts of issues with sensitive electronics.
Fuses are your safety net against electrical faults. Make sure you select the right fuse size to protect the circuit without constantly tripping. Blade fuses or Mega fuses are a good choice because they’re easy to access and replace.
Colour Coding and Waterproofing
Following New Zealand standard colour codes makes troubleshooting and future maintenance so much easier. It helps you quickly identify different circuits and avoid accidental shorts. Consistency is key here.
Waterproofing is especially important in marine environments or anywhere exposed to rain and the elements. Use marine-grade connectors and sealant to keep moisture out of your connections. When working in tight spaces, careful wire bundling keeps things organized and tangle-free.
Creating service loops when you’re initially installing wiring might seem like extra work, but it's a lifesaver down the line. That little bit of extra wire makes it much easier to replace components or make repairs in the future. Speaking of the wider market, understanding New Zealand’s power supply exports can offer insights into the country's global role. While finding specific data on 24V to 12V converter exports is tough, Volza.com provides broader data on power supply exports, which can help analyze market trends. These professional wiring techniques will ensure your 24V to 12V converter installation stays reliable even in New Zealand's challenging conditions.
Testing Your Installation Like A Professional

So, you’ve got your RFI-filtered 24v to 12v converter installed. Great work! But before you crack open a cold one, there’s one vital step left: testing. A quick voltage check with no load isn't enough. That's like checking your spare tyre is inflated and calling your vehicle ready for a cross-country road trip – it’s a start, but not the whole picture. Thorough testing ensures your system is robust and reliable under real Kiwi conditions.
Load Testing: Simulating Real-World Use
Your converter might show the correct voltage when nothing's connected, but the real test is when you power up your gear. This is where load testing comes in. Grab a variable resistor or a dummy load to mimic the current draw of your 12v devices. This helps uncover any voltage regulation issues—those pesky voltage drops that can wreak havoc on sensitive electronics.
Imagine this: your campervan fridge normally draws a small current, but the initial startup surge is much higher. If your converter can’t handle that surge, your fridge won’t start, leaving you with warm drinks and a ruined weekend. Load testing helps avoid these scenarios.
Thermal Testing: Handling the Heat
New Zealand summers can be scorching, and spaces like engine bays become ovens. Thermal testing is vital to ensure your converter can cope. Monitor its temperature during prolonged load testing. Excessive heat means you'll need better ventilation or a new, cooler location for the converter.
Interference Testing: Keeping the Airwaves Clean
RFI filtering is paramount, especially with sensitive electronics like marine radios and GPS systems. Interference testing verifies your RFI filter is doing its job. A simple AM radio can be surprisingly effective for detecting interference. Put it near the converter and listen for static or reception changes when your 12v equipment is running.
Beyond the Basics: Oscilloscopes and Documentation
For a more in-depth look at RFI, an oscilloscope can visualize the noise your converter generates, showing you exactly what's happening in the frequency domain. This lets you identify even subtle interference problems. Don’t forget to meticulously document your installation and test results. This can be invaluable for future troubleshooting or warranty claims. Photos, wiring diagrams, and test data are all helpful records to keep. Trust me, this organized approach will save you headaches down the road.
Before we wrap up, let's look at a handy checklist for testing your 24V to 12V converter installation in New Zealand conditions:
Testing Checklist and Acceptable Values Comprehensive testing parameters and acceptable ranges for commissioning 24V to 12V converters in New Zealand conditions.
| Test Parameter | Method | Acceptable Range | Warning Signs | Action Required |
|---|---|---|---|---|
| Output Voltage (No Load) | Multimeter | 12.0V - 12.5V | Voltage significantly above or below this range | Check converter specifications and wiring. |
| Output Voltage (Full Load) | Multimeter + Dummy Load | Within 0.5V of no-load voltage | Voltage drop greater than 0.5V | Increase converter capacity or reduce load. Improve wiring. |
| Converter Temperature | Infrared Thermometer | Below manufacturer's specified maximum | Exceeding maximum temperature | Improve ventilation or relocate converter. |
| RFI Interference | AM Radio Test | No audible static or interference | Audible static or interference | Check RFI filter and grounding. |
| Ripple Voltage | Oscilloscope | Less than 100mV | Excessive ripple | Replace converter or add additional filtering. |
This table provides a good starting point for your testing procedure. Always refer to your converter’s specific documentation for detailed guidelines and acceptable values.
This thorough testing process ensures your 24v to 12v converter performs reliably in any situation. It's a worthwhile investment that will prevent future issues and give you peace of mind.
Solving Problems When Reality Hits
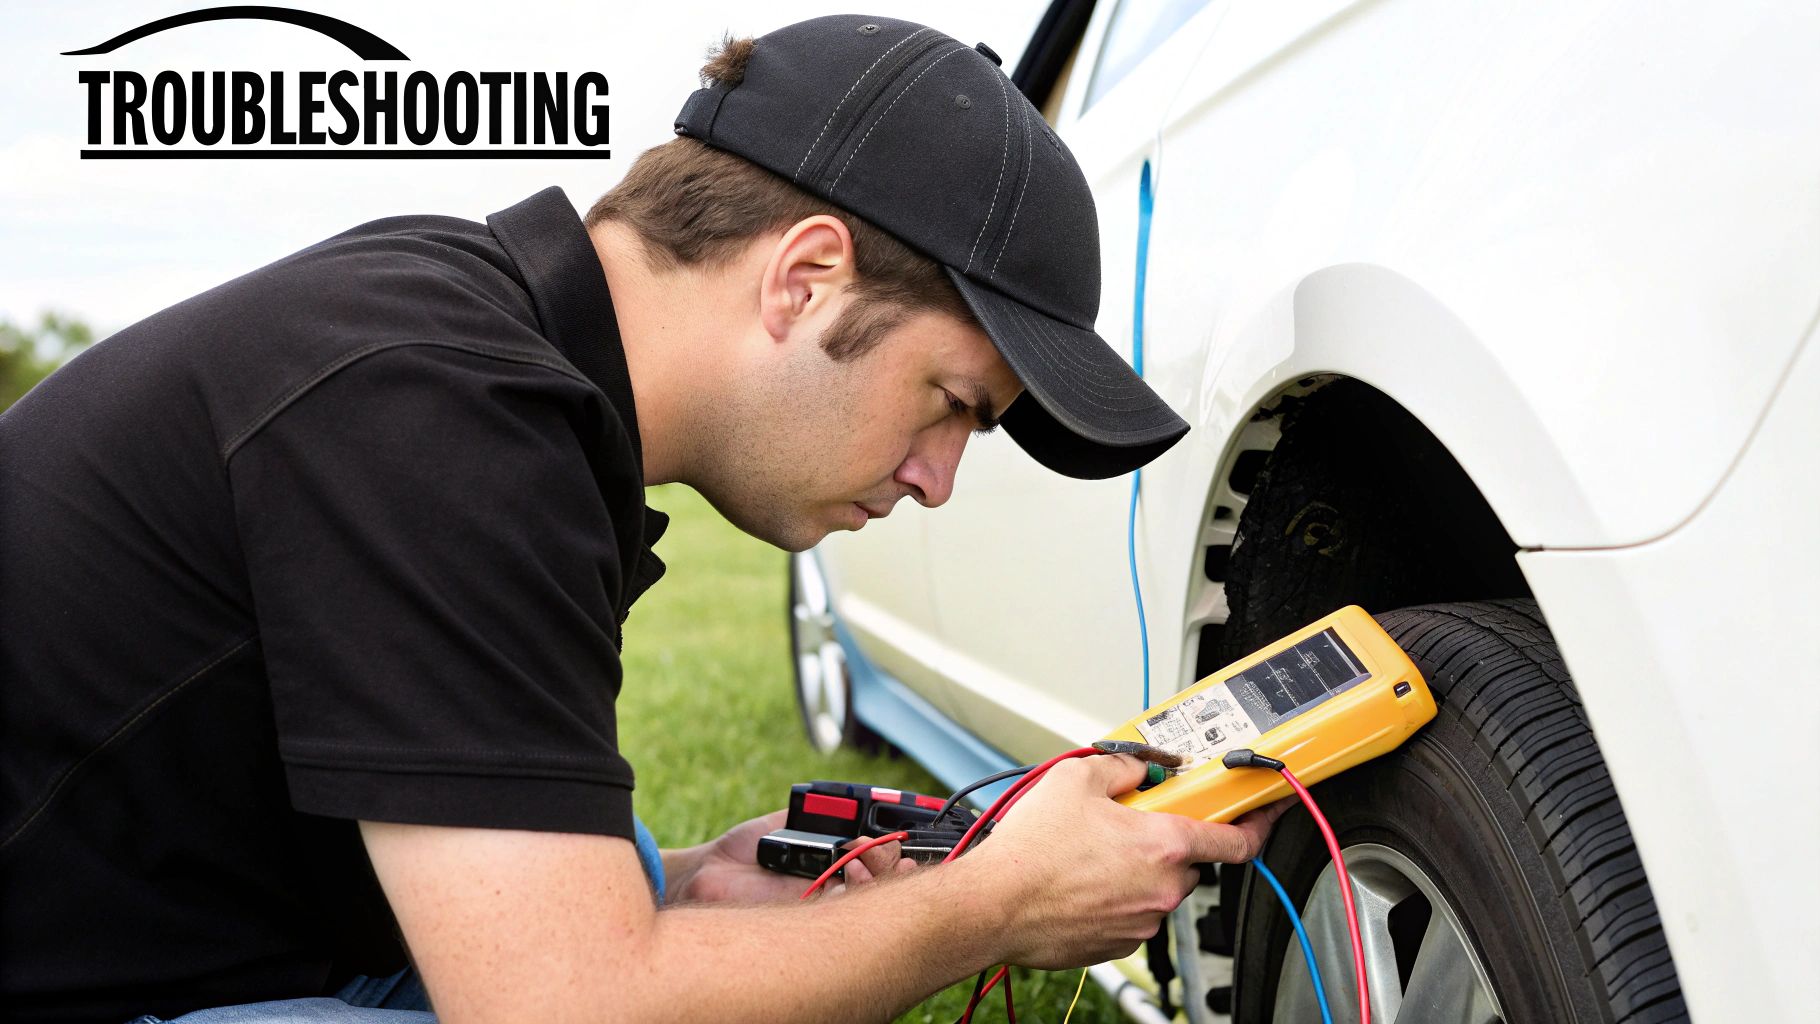
Even when you've installed your 24v to 12v converter perfectly, things can still go wrong. Troubleshooting these issues isn't about randomly swapping parts, it’s about being systematic. I’ve encountered everything from complete output failure to sneaky RFI interference messing with specific radio frequencies. The good news is that most problems are pretty predictable. Let's figure out how to quickly find the root cause of these electrical headaches.
Diagnosing Converter vs. System Problems
Before you blame the converter, make sure it's actually the problem. A dead 12v accessory doesn't automatically mean the converter is faulty. Maybe it's a blown fuse, a broken wire, or even the accessory itself. Start with the simple stuff: fuses, wiring connections, and the 12v device. A multimeter is essential. Use it to check for voltage at the converter output, the fuse, and the accessory. If you have 24v going in but no 12v coming out, and the wiring and fuses are good, then the converter is probably the culprit.
Environmental Factors: The Hidden Culprits
New Zealand's climate can be brutal on electronics. Think extreme temperatures, high humidity, and salty air – all recipes for disaster. I remember one client whose converter worked fine during the day but died at night. Turns out, condensation was shorting a connection. Always consider the environment when troubleshooting. Look for loose connections, corrosion, and moisture. If you think temperature is playing a role, try warming or cooling the converter to see if the problem changes.
Intermittent Faults: The Troubleshooting Nightmare
Intermittent faults are the absolute worst. They pop up randomly, making diagnosis a real pain. Loose connections, failing components inside the converter, or even RFI can be the cause. Try wiggling wires and gently tapping the converter while watching the output voltage. If the problem shows up, you’ve probably found the general area of the issue. Keeping a log – voltage readings, temperature, and when the fault occurs – can reveal patterns. Be a detective; gather clues to crack the case.
Repair vs. Replace: Making the Right Call
Sometimes, a simple fix is all you need. Replacing a fuse or resoldering a connection can save you some cash. But for more complex internal converter failures, especially in units with RFI filtering, replacing the unit is often the best option. Trying to repair delicate circuitry can be a real headache and might not last. When replacing, remember those selection criteria we talked about earlier – make sure you get a 24v to 12v converter that's built for your specific setup and the tough New Zealand conditions.
Real-World Scenarios: Putting It All Together
Let’s look at a few real-life examples:
-
Scenario 1: Your boat's radio cuts out when you start the engine. This usually means RFI. Check the converter’s RFI filtering, grounding, and wiring.
-
Scenario 2: Your campervan fridge is working on and off. This could be a loose connection, a failing converter, or even low battery voltage. Check connections, load test the converter, and keep an eye on the battery voltage.
-
Scenario 3: Your ute's spotlights flicker. This suggests a voltage drop when they're under load. Check the wire size, connections, and converter capacity.
Combine systematic troubleshooting with basic test equipment, and you’ll become a pro at this. Remember, it's about finding the root cause, not just fixing the symptoms. This targeted approach will get your 24v to 12v converter back up and running quickly and efficiently.
Maximizing Performance and Longevity
Your RFI-filtered 24V to 12V converter is a key piece of your setup. Treat it right, and it'll reward you with years of reliable service. This goes beyond just wiring it up and hoping for the best. A little proactive care can significantly extend its life and keep it running at peak performance.
Maintaining Your Converter in NZ's Conditions
New Zealand's climate can be tough on electronics. We deal with intense sun, salty air near the coast, and even the occasional frost. This means you need to be a bit more mindful of your converter. UV protection is important. If your converter is exposed to direct sunlight, a simple UV-resistant cover can prevent the casing from becoming brittle and cracking.
For marine installations, dealing with condensation is critical. Good ventilation is essential to prevent moisture buildup. I've seen firsthand how quickly corrosion can set in without it.
Regularly check your connections, especially if you're near the coast. A little dielectric grease on the terminals can work wonders in preventing corrosion. Also, keep an eye out for loose wires caused by vibration. Tighten them up before they cause bigger problems. These small checks can save you from major headaches down the line.
Monitoring and Early Problem Detection
Catching issues early is the best way to avoid major repairs. A basic multimeter can check the output voltage, but checking the voltage while the converter is under load gives you a much better understanding of its performance. Consider adding a simple voltage gauge to your 12V system for real-time monitoring.
If you see the voltage dropping significantly under load, it could indicate a problem developing with the converter or your wiring. Don't ignore these early warning signs.
For those interested, a stable 12V power supply from a good converter is often beneficial for Cel-Fi Go Mobile signal boosters. I've found this makes a big difference in their performance.
Upgrading and Future-Proofing
Technology is always evolving. The best 24V to 12V converter today might be outdated in a few years. When you're thinking about upgrades, consider your future needs. Are you planning to add more 12V equipment? If so, choose a converter with enough extra capacity to handle the added load.
Look into newer technologies, like switching converters with advanced RFI filtering. These offer better efficiency and noise reduction. Don't just replace what you have with the same thing – think ahead.
Good documentation is also crucial. Keep records of your installation, including wiring diagrams and any maintenance you perform. This will help with troubleshooting and ensures your setup meets regulations. Planning for the future also means having a spare parts strategy. Keeping a spare fuse, or even a backup converter, can minimize downtime if something goes wrong. A little preparation now can save you a lot of stress later on.
Investing in a quality 24V to 12V converter and following these maintenance and monitoring tips will ensure your system runs smoothly for years. If you're looking for reliable power solutions in New Zealand, check out the products and services offered by Mobile Systems Limited.


