A Guide to Starlink Roof Mount Installation in NZ
Discover how to select and securely install a Starlink roof mount for optimal satellite internet performance in rural and urban New Zealand.
For businesses dotted across New Zealand's agricultural, construction, or remote tourism sectors, a flaky internet connection isn't just an annoyance—it's an operational failure. This is exactly where a professional Starlink roof mount proves its worth, creating a solid foundation for reliable, high-speed satellite internet NZ where other services fall short.
Why a Secure Starlink Roof Mount Is Non-Negotiable

Getting your Starlink dish secured correctly is the single most important part of the whole setup.
It's what unlocks the stable, high-speed performance you signed up for.
In places like the West Coast or rural Canterbury, where traditional broadband simply can't keep up, a professionally installed mount isn’t just a good idea—it's a MUST-HAVE.
Think of it as the bedrock of your connectivity. The dish needs a COMPLETELY clear view of the sky to keep a solid link with the satellites zipping overhead.
Any wobble, vibration, or slight obstruction from a dodgy mount will cause frustrating dropouts and slow speeds, completely defeating the purpose of your investment.
The Real Risks of a Poor Installation
An improperly secured mount is more than an inconvenience; it’s a genuine risk to your gear and your property.
New Zealand's weather can be pretty unforgiving. Strong winds and torrential rain can quickly turn a poorly fixed dish into a serious liability.
- Signal Disruption: Even a minor wobble during a southerly blast can cause your connection to drop in and out, interrupting video calls, data transfers, and critical business operations.
- Property Damage: A mount that isn't properly anchored to your roof's structure (like the rafters or purlins) can work itself loose. This leads to water leaks, cracked tiles, or damaged roofing iron. A bodged job can cause serious damage, so it's worth understanding the potential roof repair costs.
- Equipment Failure: In a worst-case scenario, the mount gives way completely, sending your expensive Starlink dish crashing down. That means a hefty replacement bill and a total loss of service.
A correctly installed Starlink roof mount isn't just about holding the dish in place. It’s about guaranteeing the long-term performance and reliability of your entire satellite internet NZ system. It protects your investment and ensures you get the speeds you’re paying for.
Built for Kiwi Conditions
From the salty air on coastal properties to the gusty winds whipping through alpine regions, your installation needs to handle everything our local climate can throw at it.
This is why choosing the right hardware and installer is so critical.
Professional installers, especially those who work with trusted brands like RFI and Pacific Aerials, know what the New Zealand environment demands. They’ll use corrosion-resistant fixings and commercial-grade sealants designed to withstand our harsh UV and constant moisture, making sure your setup stays secure and weatherproof for years to come.
Ultimately, a secure Starlink roof mount is the difference between a high-performance internet solution and a constant source of frustration. To learn more about how this technology is changing the game for remote areas, you can explore our comprehensive guide to satellite internet in New Zealand.
Choosing The Right Mount for Your NZ Roof
Picking the right Starlink roof mount isn’t a one-size-fits-all job, especially with the huge variety of homes and commercial buildings we have across New Zealand.
Get this choice right, and you’ll have a stable connection for years.
Get it wrong, and you risk damaging both your expensive Starlink kit and your roof.
The hardware you choose needs to be tough enough to handle everything from a Canterbury nor'wester to the corrosive salt spray along the Bay of Plenty coastline. It’s about more than just holding the dish up; it's about creating a secure, weatherproof foundation that will last.
Official Starlink Mounts vs Third-Party Solutions
Starlink offers its own range of mounts, and they’re generally well-engineered for common installation scenarios. The two you’ll see most often are the Volcano Mount and the Pivot Mount.
- Volcano Mount: This is your go-to for standard pitched roofs. It provides a stable, low-profile base but requires drilling. For it to be truly secure, you ABSOLUTELY must fasten it to the roof's structural rafters.
- Pivot Mount: A bit more versatile, this one works on pitched or flat surfaces. It gives you more flexibility to angle the dish, which can be a lifesaver for getting that perfect alignment.
While these official mounts are great, they aren’t the perfect solution for every Kiwi roof. This is where specialised third-party hardware from expert mobile systems providers comes in. Brands that live and breathe mounting solutions, like Ram Mounts, often offer heavy-duty options designed for more demanding conditions. These can give you superior wind load ratings and more robust construction—critical for exposed rural or coastal properties.
Matching The Mount to Your Roof Type
The material and style of your roof is the single biggest factor in figuring out the best mounting strategy. Kiwi homes have it all, and each type presents its own unique challenges.
Long-Run Corrugated Iron
This is probably the most common roofing material in the country. When mounting on long-run iron, you MUST fix the mount directly to the purlins or rafters underneath the sheeting.
Just screwing into the thin metal sheet is asking for trouble. A decent gust of wind will rip it loose, causing major damage to your roof and your Starlink.
Using a high-quality sealant and a proper flashing boot is non-negotiable for a lasting waterproof seal.
Concrete or Clay Tiles
Tile roofs need a much more careful approach. You can't just drill through a tile—it’ll crack and create a leak.
The proper way to do it is with a specialised tile mount that hooks under a tile and secures to the rafters below.
The cable is then routed carefully underneath the overlapping tiles to avoid creating a channel for water to run down.
Choosing the right mount for a tile roof often means investing in a purpose-built system. Trying to DIY a solution without the right hardware can easily lead to costly water damage and a pile of broken tiles, turning a simple install into a major repair job.
Membrane and Flat Roofs
Common on commercial buildings and many modern homes, membrane roofing requires a non-penetrating mount.
These mounts typically use a weighted base, like concrete blocks, to hold the dish securely in place without piercing the waterproof membrane.
Drilling into this type of roof is extremely risky and will likely void its warranty.
To make things a bit clearer, here’s a quick comparison of the options for typical New Zealand scenarios.
Starlink Mount Options for Common New Zealand Roofs
| Mount Type | Best Suited For | Pros | Cons / NZ Considerations |
|---|---|---|---|
| Official Starlink Volcano Mount | Standard pitched corrugated iron or asphalt shingle roofs. | Simple, effective, and designed specifically for the dish. | May not have the strength for high-wind zones; requires careful sealing. |
| Official Starlink Pivot Mount | Pitched and some flat roofs, offering angle adjustment. | More versatile than the Volcano mount; good for fine-tuning position. | Less robust than heavy-duty third-party options. |
| Specialist Tile Roof Mount | Concrete or clay tile roofs. | Avoids drilling through and cracking tiles; very secure. | More complex installation; can be more expensive. |
| Non-Penetrating Mount | Flat membrane roofs on commercial or residential buildings. | No roof penetration, preserving the waterproof seal and warranty. | Can be heavy and bulky; requires a structurally sound flat surface. |
| Custom Third-Party Pole Mount | Challenging roof lines or when needing extra height. | Excellent for clearing obstructions like trees; highly customisable. | Requires a very secure base; professional installation is often needed. |
At the end of the day, investing in the correct Starlink roof mount for your specific property is crucial. It’s the key to ensuring your connection stays stable through any weather and, just as importantly, protects your home from the elements.
A Practical Guide to a Safe and Secure Installation
So, you’ve picked out your ideal Starlink roof mount.
Now for the hands-on part: the installation. This is where a bit of planning and attention to detail really pays off, turning that box of parts into a rock-solid, high-speed connection.
A successful install is all about safety, getting it right the first time, and making sure your home stays completely weathertight.
Before you even touch a ladder, your most important job happens on the ground. Grab your phone, open the Starlink app, and use its obstruction checker to scout your property.
You’re hunting for that perfect spot with the widest, clearest view of the sky—no trees, chimneys, or pesky neighbouring buildings in the way.
Don’t skip this. Even a tiny, recurring obstruction can lead to frustrating signal dropouts.
Once you’ve nailed down the location, it’s time to give your roof a quick structural check-up. Remember, your roof is built to keep rain out, not necessarily to handle the extra weight and wind load from a new dish. Have a gentle poke around the area you've chosen. You want to be sure the underlying structure—the rafters or purlins—is sound and free from any rot or damage. This is the framework that your mount HAS to be anchored to.
Gearing Up for The Job
Nothing’s worse than being halfway up a ladder and realising you’ve forgotten a crucial tool.
Getting everything ready beforehand is key to a safe and professional-looking job.
Here’s what you’ll want in your toolkit:
- A sturdy ladder that's properly secured, and a safety harness if you're working at height.
- A drill with the right bits for your roof material and the fixings you're using.
- A stud finder to pinpoint those rafters or purlins hiding under the roofing.
- A socket set or spanner to get those bolts properly tight.
- A high-quality, UV-resistant sealant designed to withstand New Zealand's harsh sun.
- Stainless steel fixings (screws or bolts) are a must to prevent rust, especially if you're anywhere near the coast.
Anytime you're working on your roof, safety has to be your top priority. You can find some excellent general DIY safety tips for roof work in guides for other rooftop jobs, like solar panel cleaning. At the end of the day, no internet connection is worth a fall.
The diagram below gives you a quick idea of how the decision-making process starts, depending on what your roof is made of.
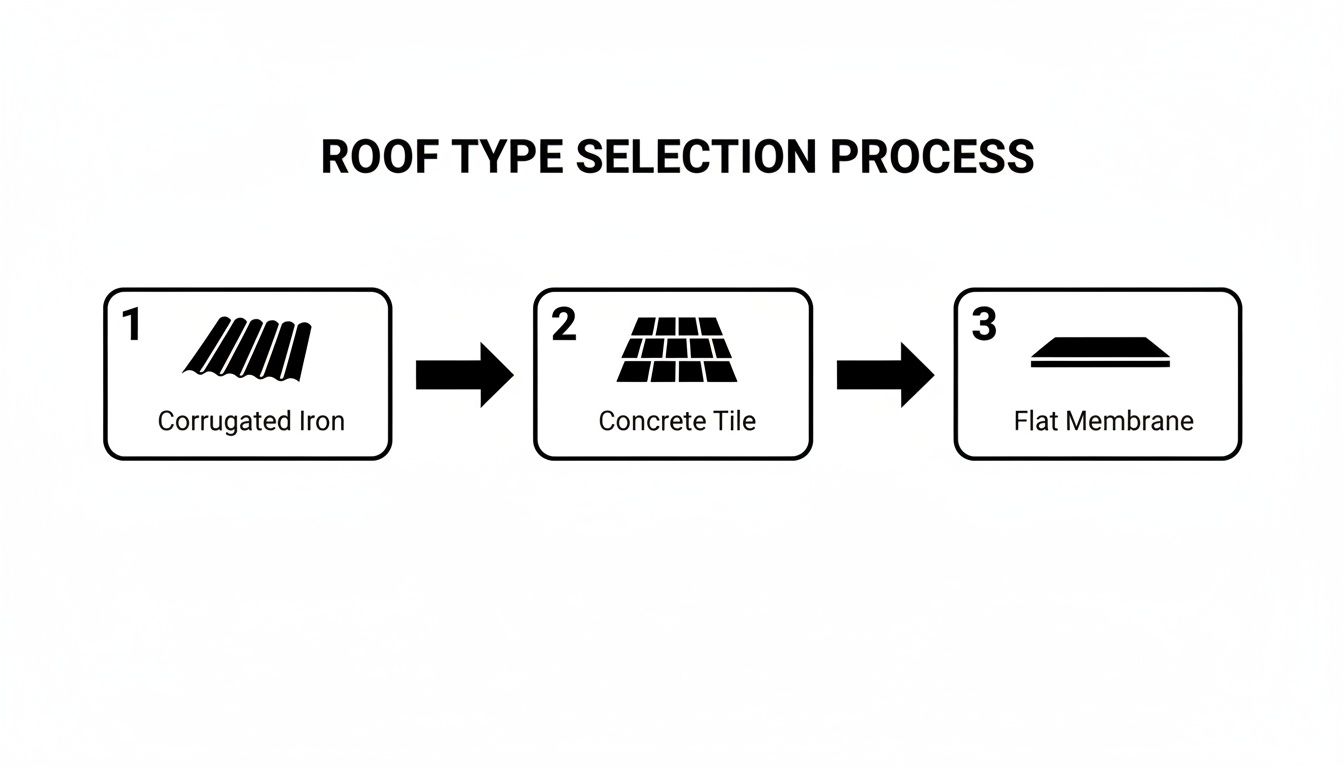
As you can see, each material requires a specific approach to keep things stable and, most importantly, waterproof.
Securing The Mount and Routing The Cable
This is the moment of truth.
Position your mount over the spot you’ve picked out, making sure its fixing points line up directly over the roof's structural beams.
Carefully drill your pilot holes through the roofing and into the timber below. Now, before you put the screws in, apply a generous bead of your high-quality sealant AROUND each hole. This creates your first line of defence against leaks.
Secure the mount firmly with your stainless steel fixings, tightening them down until there’s absolutely no wobble. Once they’re tight, apply another layer of sealant over the top of each fixing head. This double-seal method is a tried-and-true technique for preventing water from ever getting in.
With the mount secure, the next puzzle is getting the Starlink cable from the dish into your house. The aim here is to find the cleanest, most direct route while keeping the entry point completely waterproof. For a deeper dive into different cable routing tricks and sealing methods, check out our comprehensive guide on Starlink installation in New Zealand.
Crucial Tip: Never rely on silicone sealant alone to waterproof a cable entry point through a roof. NZ's intense UV will break it down over time. For any penetration through roofing iron, you ABSOLUTELY should use a proper mechanical flashing, like a Dektite boot.
Grounding for Electrical Safety
Properly grounding your Starlink roof mount is a critical safety step that often gets missed in DIY installs.
Think about it: your dish is now the highest metal object on your roof, making it a potential target for lightning or static build-up.
Grounding simply gives any unexpected electrical charge a safe path to travel into the earth. This protects your expensive Starlink gear and all the devices connected to it inside your home.
You’ll need to run a grounding wire from a metal part of the mount directly to your home’s existing grounding rod. If you’re not sure how to do this or can’t find your home’s grounding point, that's a clear signal to call in a professional installer or a registered electrician. It’s a significant risk and not one worth taking.
Optimising Your Starlink Connection Post-Installation
Getting your Starlink roof mount securely fixed is a huge step, but the job isn't quite done yet.
It's the final tweaks that really make the difference between a good installation and a great one, ensuring you get the seamless, high-speed connection you paid for.
Now it's time to fine-tune the system, starting with the brains of the operation—the Starlink app.
Once you’ve powered everything on, the app becomes your best friend. Its most crucial tool right now is the obstruction viewer.
Even with the most careful planning, it’s easy to miss a rogue tree branch or the corner of a chimney that can cause tiny, frustrating dropouts in your signal. Use the app to get a real-time digital map of your dish's line of sight, confirming it has a completely clear path to the sky.
Honestly, this step is non-negotiable. If the app flags any obstructions, even seemingly minor ones, your connection will never hit its full potential. You might need to look at a taller mount or shift the dish's position slightly to get rid of those blind spots.
Fine-Tuning Your Internal Network
With the dish perfectly aligned, let's bring the focus indoors. Your Starlink's performance is only as good as your internal Wi-Fi network.
Where you place the Starlink router is absolutely critical for spreading that speedy signal throughout your home or business.
Think of your router like a lightbulb—you wouldn't stick it in a cupboard and expect it to light up the whole room.
- Go Central: Place the router as close to the centre of your property as you can.
- Avoid Blockers: Keep it clear of thick concrete walls, big metal appliances (fridges are notorious Wi-Fi killers), and even fish tanks.
- Get It Up High: Putting the router on a shelf or table, rather than on the floor, helps the signal travel much further.
For larger properties or multi-storey buildings, which covers a lot of Kiwi homes and farmhouses, the standard router might struggle to cover every corner. This is a really common problem. In these situations, a mesh Wi-Fi system is a fantastic solution. It uses multiple nodes to create a single, powerful network that wipes out those annoying dead zones.
Maximising Speed and Stability
The growth of satellite broadband NZ has been incredible. Recent data shows Starlink connections have soared to 58,000 nationwide, a massive 54.5% jump from the previous year. And with impressive average speeds hitting 214 Mbps, it's clear Starlink is delivering on its promise for rural Kiwis and businesses that rely on specialists like us for solid mobile communications. You can read more about Starlink's rapid expansion in the NZ market.
To make sure you're getting every last bit of that speed, think about a wired connection for your most important devices.
Wi-Fi is handy, no doubt, but a physical Ethernet cable will ALWAYS be faster and more stable.
For things like your main desktop computer, a smart TV for streaming 4K content, or a gaming console, a hardwired connection is the way to go. It cuts out any risk of Wi-Fi interference or signal drop-off, giving you the most direct and reliable path to the internet.
This is especially true for business-critical gear where stability is everything. To see what your options are for creating a wired network, check out our guide on using the Starlink Ethernet adapter. It’s a simple add-on that makes a world of difference to the performance of your key devices.
By pairing a perfect roof mount position with a smart internal network, you'll ensure your Starlink system is running at its absolute best.
Knowing When to Call In a Professional
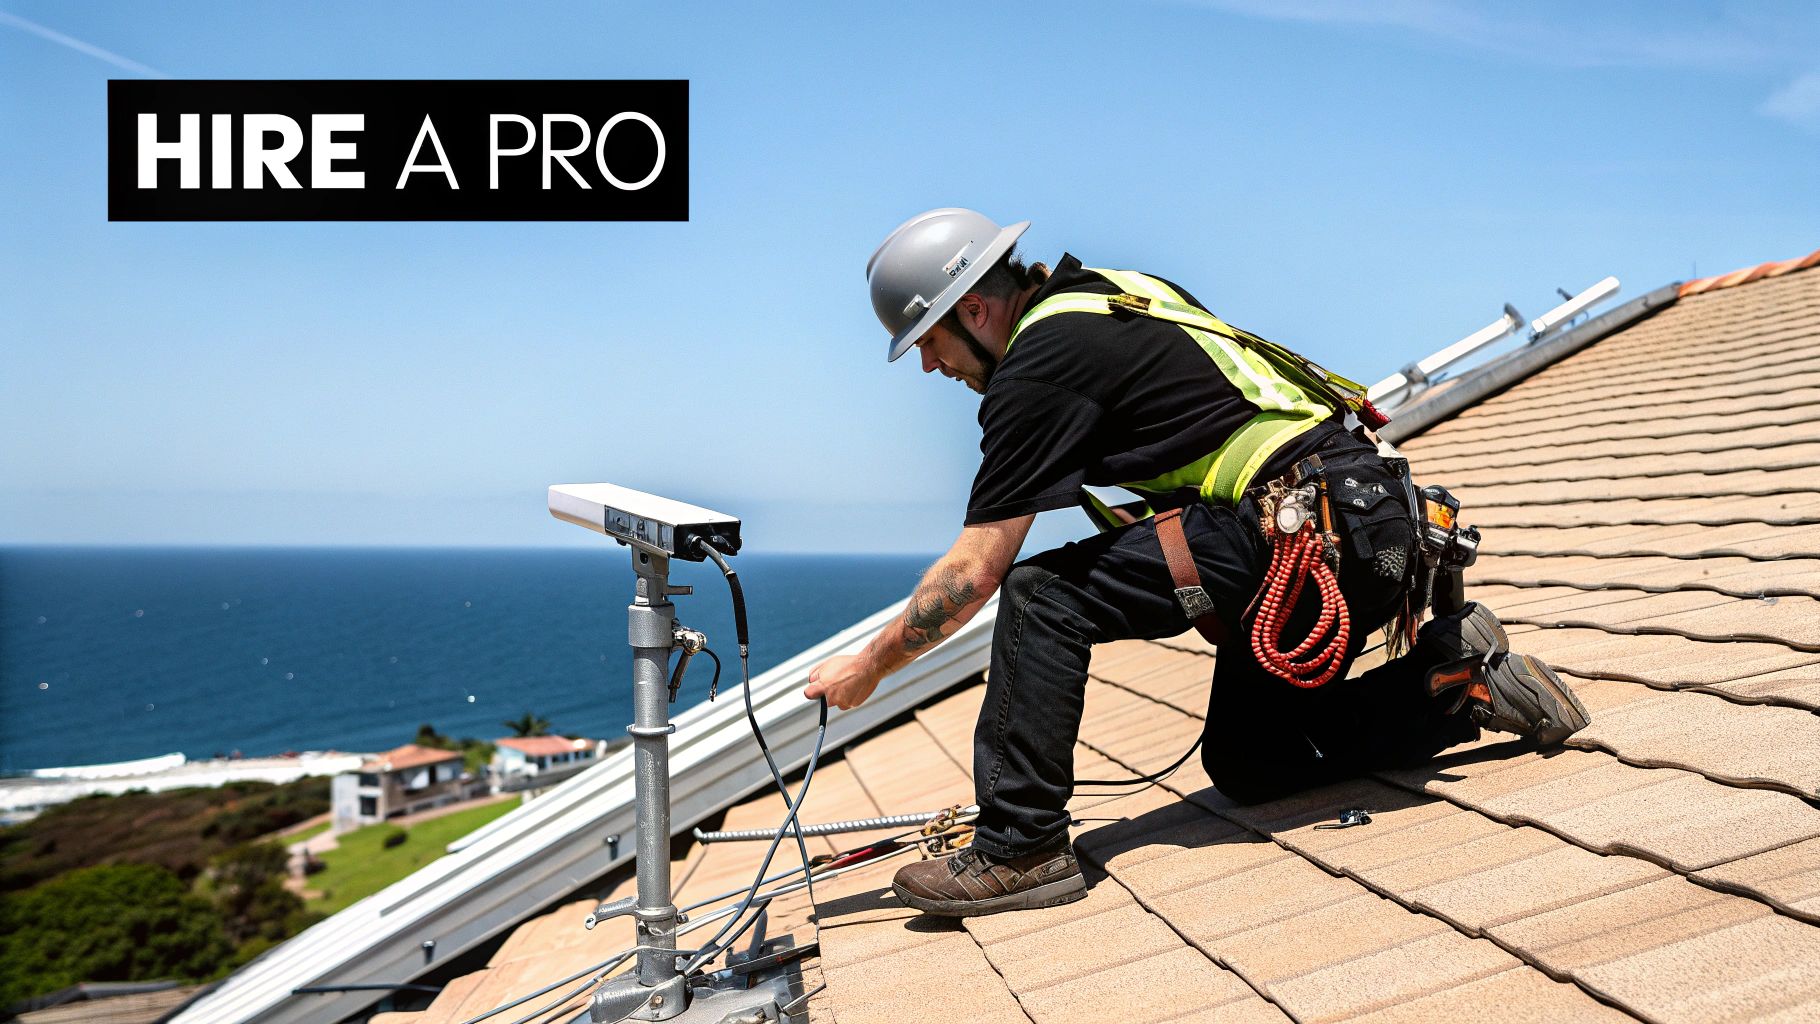
There's a real satisfaction in a job well done yourself, and the appeal of a DIY Starlink roof mount is strong.
But it’s crucial to be honest with yourself about your own limits.
Getting this wrong can quickly turn a straightforward project into a costly, dangerous mess that could damage your roof or your new gear.
Knowing when to hang up the toolbelt and call a specialist isn’t admitting defeat. It’s a SMART move that protects you, your home, and the investment you've made in getting decent internet.
For plenty of Kiwis who are comfortable up a ladder and handy with a drill, installing Starlink on a simple, single-storey roof is probably well within reach. It’s when things get complicated that the risk starts to outweigh the reward, and the value of a professional installer becomes crystal clear.
Clear Signs You Need an Expert
Some situations are immediate red flags. If any of these sound like your place, it’s time to pick up the phone and talk to a specialist communications provider.
- Significant Heights or Steep Pitches: Working on a two-storey house or a roof with a steep pitch isn't just tricky; it's dangerous. The risk of a serious fall skyrockets. Professionals have the proper safety harnesses, scaffolding, and training to work safely at heights. It's just not worth the risk.
- Complex or Delicate Roofing Materials: Got a clay tile, slate, or membrane roof? These materials are fragile, expensive, and notoriously easy to damage. One wrong step can lead to cracks and leaks that are a nightmare to fix. Pros know the right techniques and have specialised mounts to get the job done without causing damage.
- Uncertain Structural Integrity: If you've got an older home or you’re not 100% sure where the rafters or purlins are, guessing is a bad idea. A pro will locate these crucial anchor points properly, making sure your dish stays put when a southerly gale comes ripping through.
- Lack of Proper Tools and Experience: A successful, weatherproof installation takes more than just a tube of silicone from your local hardware shop. A professional turns up with commercial-grade sealants, specialised flashing boots, and the experience to create a seal that will last for years under the harsh New Zealand sun.
The Professional Advantage
Hiring an expert from a trusted company like Mobile Systems gives you more than just an extra pair of hands. You're getting years of practical, on-the-job knowledge that you simply can't get from a YouTube video.
A professional installation is an investment in peace of mind. You're not just paying for the labour; you're paying for years of experience in weatherproofing, structural mounting, and a job done right the first time, ensuring your Starlink performs flawlessly for its entire lifespan.
These installers understand the subtleties of different building materials and how local weather patterns affect an installation. A tech working in the salty air of coastal Bay of Plenty will prioritise corrosion resistance, using stainless steel fixings from brands like Hella marine. Meanwhile, an installer in windy Canterbury will be laser-focused on maximising the mount's wind load rating.
They’re also masters of running cables neatly and discreetly, protecting them from UV damage and potential snags. And when they hit an unexpected snag—which happens all the time with renovations and installations—they know how to solve it on the spot, turning a potential showstopper into a minor hiccup.
Ultimately, bringing in a pro ensures your Starlink roof mount is installed safely, securely, and in a way that guarantees you get the best possible performance for years to come.
Got Questions About Starlink Roof Mounts?
When it comes to putting a Starlink dish on your roof, a few common questions always pop up. Here in New Zealand, we've got our own set of rules and weather to think about, so it's smart to get clear answers before you start. Let's run through the queries we hear most often from Kiwis planning their installation.
Do I Need Council Consent for a Starlink Mount in NZ?
Good news. For most standard residential homes across New Zealand, you can go ahead and install a Starlink dish without needing to bother the council. The gear is generally small enough that it’s considered a permitted activity.
That said, there are a couple of situations where you'll want to double-check. If you're living in a designated heritage zone or your local district plan has specific rules about things you can stick on your house, it pays to check first. For commercial buildings or really complex setups, a quick call to the council is always a good idea. Any professional installer worth their salt will know the local rules inside and out and can steer you right.
What's the Best Way to Waterproof the Cable Entry Point?
Getting a permanent, watertight seal where the cable comes through your roof is non-negotiable. For a typical Kiwi corrugated iron roof, the absolute gold standard is a quality Dektite flashing boot. It's a flexible, cone-shaped rubber seal that creates a perfect mechanical barrier around your cable, stopping water in its tracks.
You'll want to pair this with a professional-grade, UV-resistant sealant. If you've got a tile roof, the approach is a bit different—it involves carefully feeding the cable under an overlapping tile and then sealing that entry point like your life depends on it.
Here's a pro tip: whatever you do, don't just slap a blob of silicone on the hole and call it a day. New Zealand's sun is brutal and will break down cheap sealant faster than you think, leading to leaks. A proper mechanical flashing isn't just a suggestion; it's the ONLY way to do the job properly and keep your ceiling dry for years to come.
Can I Install Starlink on a Shed or a Pole Instead?
You sure can, but there are a couple of big 'ifs'. Whatever you mount it on—whether it's a pole, a shed, or something else—it has to be ROCK SOLID and have a clear, 360-degree view of the sky.
Even the slightest wobble, sway, or vibration from the wind will throw off the dish's connection to the satellites. A pole set securely in concrete is a great alternative if your roof isn't suitable. A shed can work, but only if it's structurally sound and tall enough to clear any trees, hills, or neighbouring buildings. Honestly, though, the roof is usually the best spot for its height and stability.
How Does the Mount Handle High Winds and Bad Weather?
Starlink dishes are built tough and can handle some pretty wild weather, but their stability comes down to one thing: the quality of the Starlink roof mount and how well it's installed. You need to use either an official Starlink mount or a seriously robust third-party one.
The mount MUST be bolted directly into the roof's bones—the rafters or purlins—not just the thin roofing iron or tiles. And since a good chunk of New Zealand is classified as a high-wind zone, grabbing a heavy-duty mount is a smart move for long-term peace of mind and a stable connection.
At Mobile Systems Limited, we live and breathe this stuff. We specialise in robust communication solutions designed specifically for New Zealand's unique conditions. Whether you need some expert advice on the right Starlink roof mount for your place or a full professional installation, our team has the experience to get it done right the first time.
Explore our communication solutions and get expert advice at Mobile Systems Limited
Related posts

- January 16, 2026
Explore starlink plans nz for rural, business, and maritime needs. Compare pricing, speeds, data caps, and find your ideal satellite...

- January 15, 2026
Discover everything you need to know about the Starlink kit NZ. Explore pricing, setup options, performance, and expert support for...