Uncovering the Science Behind FM Antennas for Superior Reception in NZ
Introduction To FM Radio Aerial NZ Essentials
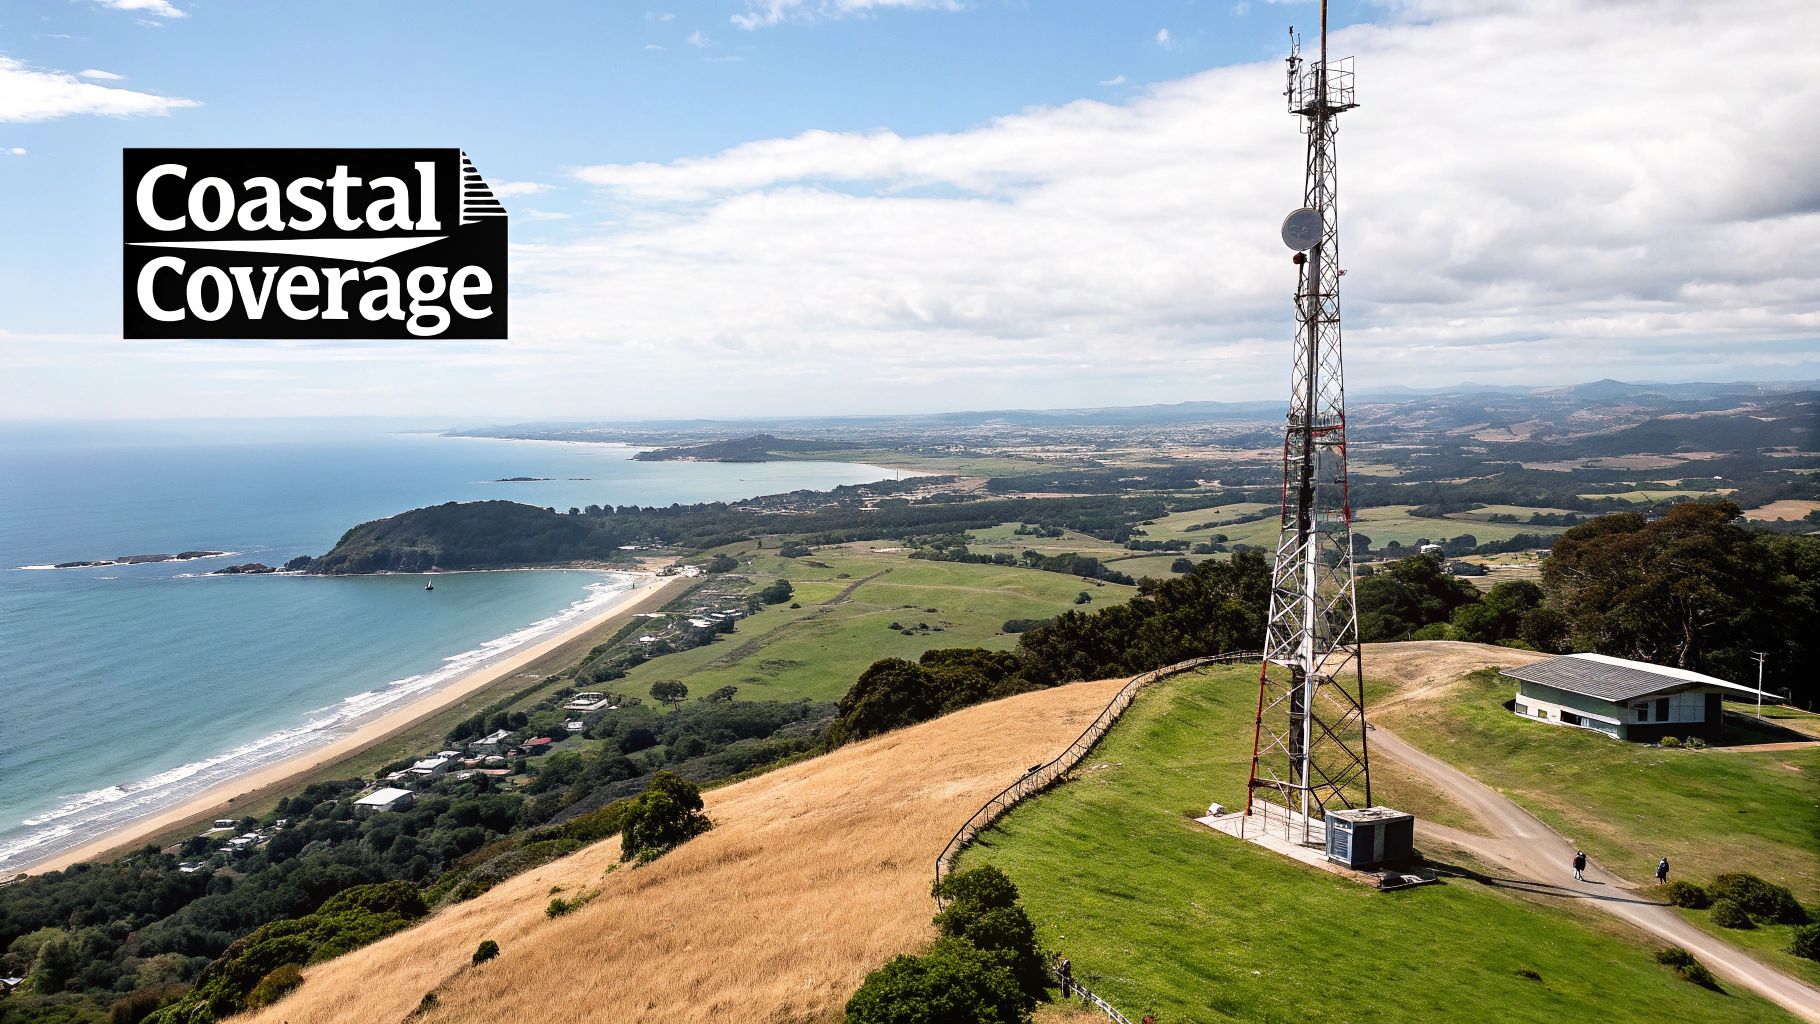
Picture this: you're road-tripping through the Coromandel, windows down, ready for a weekend getaway. But as you navigate the winding roads, your favourite radio station starts to play hide-and-seek, fluctuating between crystal-clear audio and frustrating static. This isn't just bad luck; it highlights the importance of a quality FM radio aerial in New Zealand. Think of it like choosing the right lens for your camera – the better the lens, the clearer the picture.
New Zealand's diverse landscape, from coastal stretches to rolling hills and cityscapes, creates unique challenges for FM radio reception. Coastal areas battle salt spray corrosion, while cities grapple with signals bouncing off buildings (something called multipath interference). Rural areas, on the other hand, often struggle with sheer distance from radio transmitters.
This guide will walk you through everything you need to know about fm radio aerials nz, from the basics of FM broadcasting to practical tips for maximizing your reception.
Understanding the Basics
We'll break down the core concepts of FM aerial technology, explaining terms like gain and polarization in simple, everyday language. No complicated jargon here! Imagine gain as a magnifying glass for radio waves, and polarization as aligning the aerial with the incoming signal for optimal reception.
Choosing the Right Aerial
We'll also compare popular brands like GME, RFi, and Hi-Tech, highlighting their strengths and weaknesses for various New Zealand environments. Whether you're in Auckland, Wellington, or a remote South Island town, we'll help you find the perfect fit.
Installation and Troubleshooting
This guide also covers proper installation techniques, offering practical advice to ensure your aerial is set up for optimal performance. We'll even delve into common troubleshooting tips, helping you diagnose and fix reception problems. Think of it as a DIY guide to clear radio bliss.
By the end of this guide, you'll be equipped to choose and install the perfect fm radio aerial nz, ensuring crisp, clear reception wherever your Kiwi adventures take you.
History And Evolution Of FM Broadcasting In NZ
New Zealand's journey with FM radio is a fascinating one. Think of it like this: imagine families gathered around their old AM radios, the sound crackling with static. Suddenly, clear, crisp FM stereo bursts onto the scene. This wasn’t just a minor improvement; it completely changed how Kiwis experienced radio.
In the early 1980s, FM broadcasting started to gain traction, offering a huge upgrade from the limited AM band. A pivotal moment was the launch of 1XX, New Zealand's first FM broadcaster. 1XX's transition from AM to FM symbolized progress in regional media, inspiring other stations to make the switch. This sparked a surge in FM listenership throughout the 80s.
This screenshot from Wikipedia shows how FM frequencies are allocated across New Zealand:
The screenshot clearly shows the organized structure of FM frequency allocation, minimizing interference and maximizing coverage across different regions. By the mid-1990s, FM radio dominated the airwaves, capturing over 80% of urban listeners. The superior sound quality and wider station selection fuelled this growth. New Zealand adopted FM relatively late compared to other developed nations, but its impact was transformative. Learn more about the early days of FM radio in New Zealand. Find out more about NZ's FM radio history
The Rise of FM Hubs
This growth wouldn't have happened without significant infrastructure development. High-elevation transmission sites, like Auckland's Sky Tower, became vital fm radio aerial nz hubs. The 328-meter Sky Tower broadcasts RNZ National at 101.4 MHz, along with numerous other stations, reaching over 1.6 million people across the Auckland region. These strategically positioned aerials became essential for delivering FM signals to large populations.
The Impact of Infrastructure
The transition to FM required substantial investment in new aerial technology. Taller masts and high-gain antennas were needed for wide coverage, especially in challenging terrain. Choosing the right FM radio aerial became crucial for good reception, and the decisions made back then still affect how well we receive signals today.
Aerial Technology Advances
The shift to FM also spurred the development of more advanced aerial designs. Companies like GME, RFi, and Hi-Tech started producing specialized antennas for New Zealand's unique conditions. GME focused on robust, weatherproof models suitable for coastal regions, while RFi developed high-gain antennas designed for urban environments prone to interference. Hi-Tech provided adaptable solutions for various situations, from rural homes to city apartments.
The history of FM broadcasting in New Zealand shows how infrastructure and technology directly influence how we consume media. It also highlights the importance of aerial technology in delivering a clear, reliable signal across the diverse landscapes of the country. This background helps us understand how to select the right FM aerial for our individual needs.
Fundamental Concepts Of FM Aerial Technology
This image shows how frequency modulation works. See how the frequency of the wave changes based on the signal? That’s the magic of FM radio – these frequency variations carry the music and voices from the station to your FM radio aerial.
Building on our look at FM radio’s history in New Zealand, let's explore the tech behind it. Imagine radio waves as ripples on a pond. Your fm radio aerial nz is like a surfboard, catching those ripples. How well it catches them depends on things like polarization.
Think of polarization as the surfboard's orientation – lying flat (horizontal) or standing up (vertical). In NZ cities, FM broadcasts use horizontal polarization, so your aerial and the station's antenna are "aligned." You can learn more about antenna basics here: Antenna Information
Understanding Effective Radiated Power (ERP)
Effective Radiated Power (ERP) is another key concept. It's the actual power the antenna sends out, considering its design. A 10 kW ERP transmitter on a tall mast is like a powerful beacon, covering a wide area. But in rural NZ, lower ERP values are used to avoid stations interfering with each other. This careful balancing act ensures you get a clear signal without unwanted noise.
Across NZ cities, fm radio aerials nz are surprisingly similar. Most big stations, like RNZ National, use horizontally polarized, high-gain antennas on high points for maximum range. A typical Auckland station might use between 5 kW and 25 kW ERP, depending on its coverage area and the rules. Rural areas usually use lower ERP to minimize interference. Many NZ FM aerials are even co-located – several stations share one tower, like a broadcasting hub. This shared setup streamlines things and boosts coverage. Discover more insights
The Importance of Gain
Now, let's talk about gain. Antenna gain focuses the radio waves like a magnifying glass focuses sunlight. Higher gain means a more concentrated signal, vital for distant stations or overcoming obstacles like buildings or hills. This focus can significantly improve reception, especially in tricky areas.
Stacking Elements for Enhanced Reach
Many FM aerials have multiple elements stacked together. This boosts the antenna's gain and directivity. Each element acts like another magnifying glass, further concentrating the signal. This is particularly useful for directional antennas, like Yagi antennas, often used in areas with weaker signal. These stacked elements extend the antenna's "reach," helping it grab those fainter signals.
By understanding these fundamentals – polarization, ERP, gain, and stacking – you’ll know how fm radio aerials nz work. This helps you pick the right aerial for your location and listening needs, ensuring you enjoy crystal-clear FM radio.
Comparing GME, RFi, And Hi-Tech FM Aerials
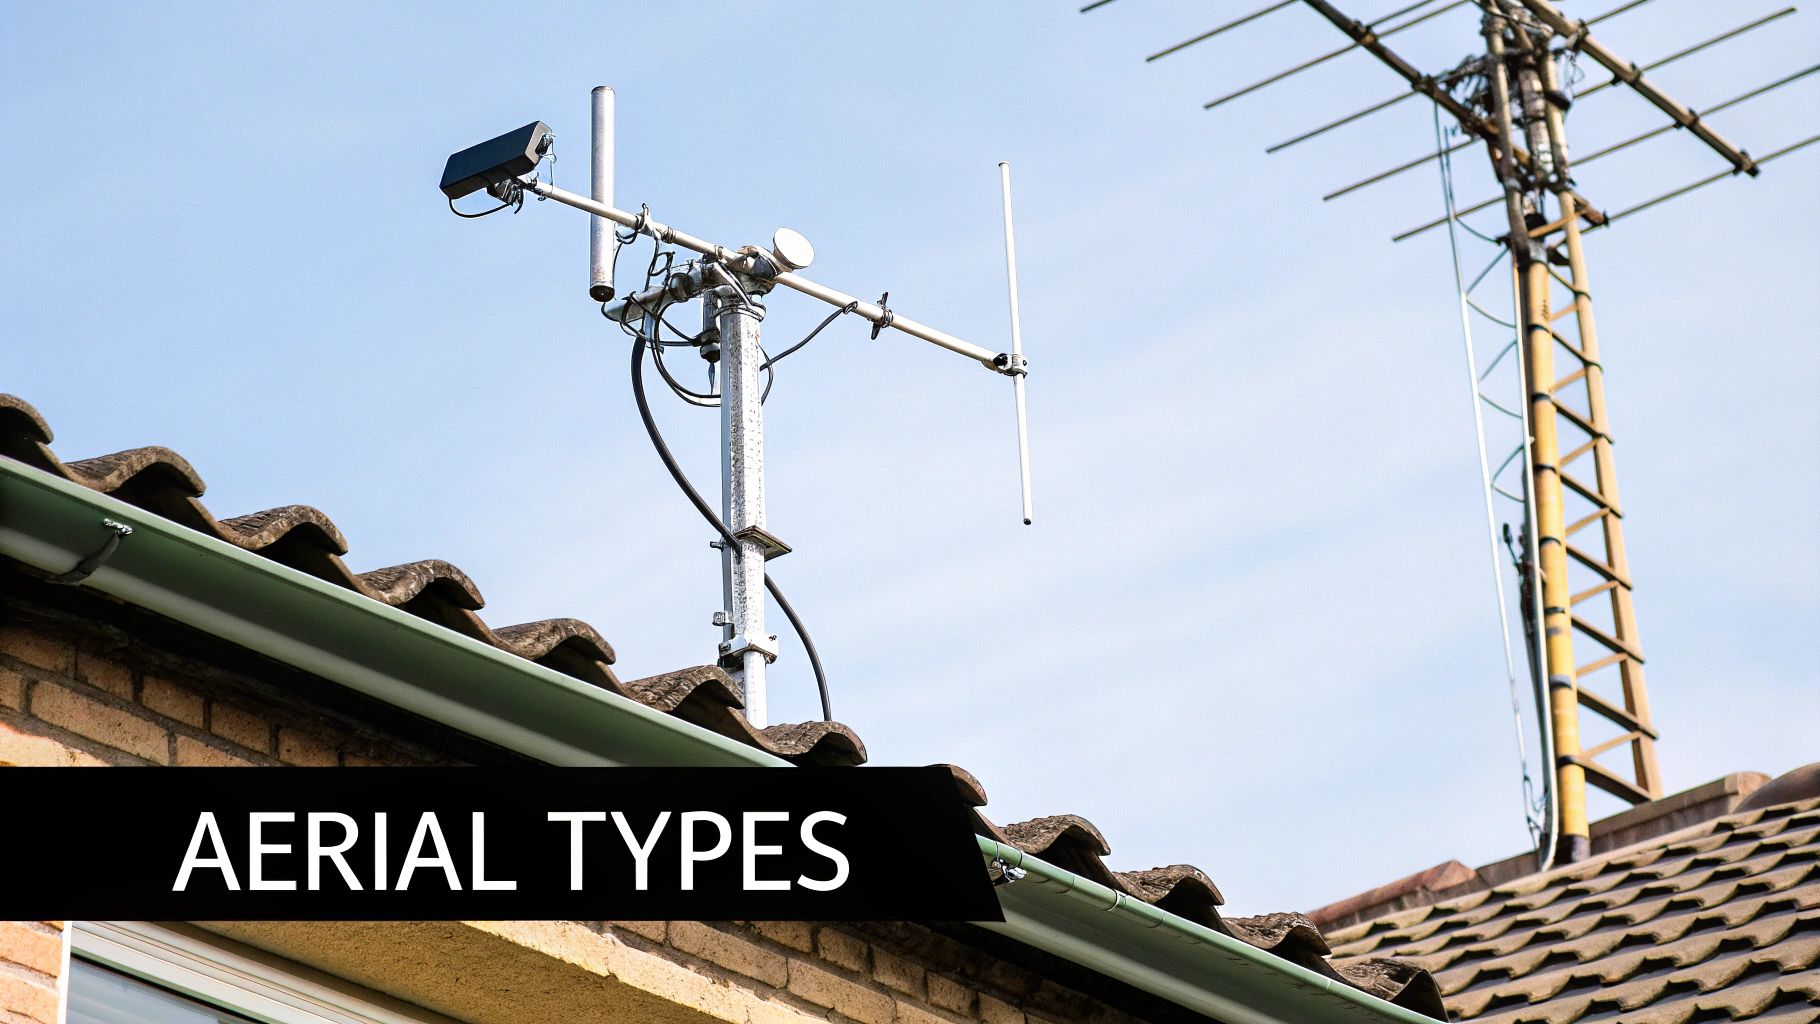
New Zealand's diverse landscapes, from rugged coastlines to city high-rises and sprawling farmlands, pose unique challenges for FM radio reception. Choosing the right fm radio aerial nz is key to enjoying clear, uninterrupted audio. Let's explore three leading brands – GME, RFi, and Hi-Tech – and see how their antennas tackle these varied reception challenges.
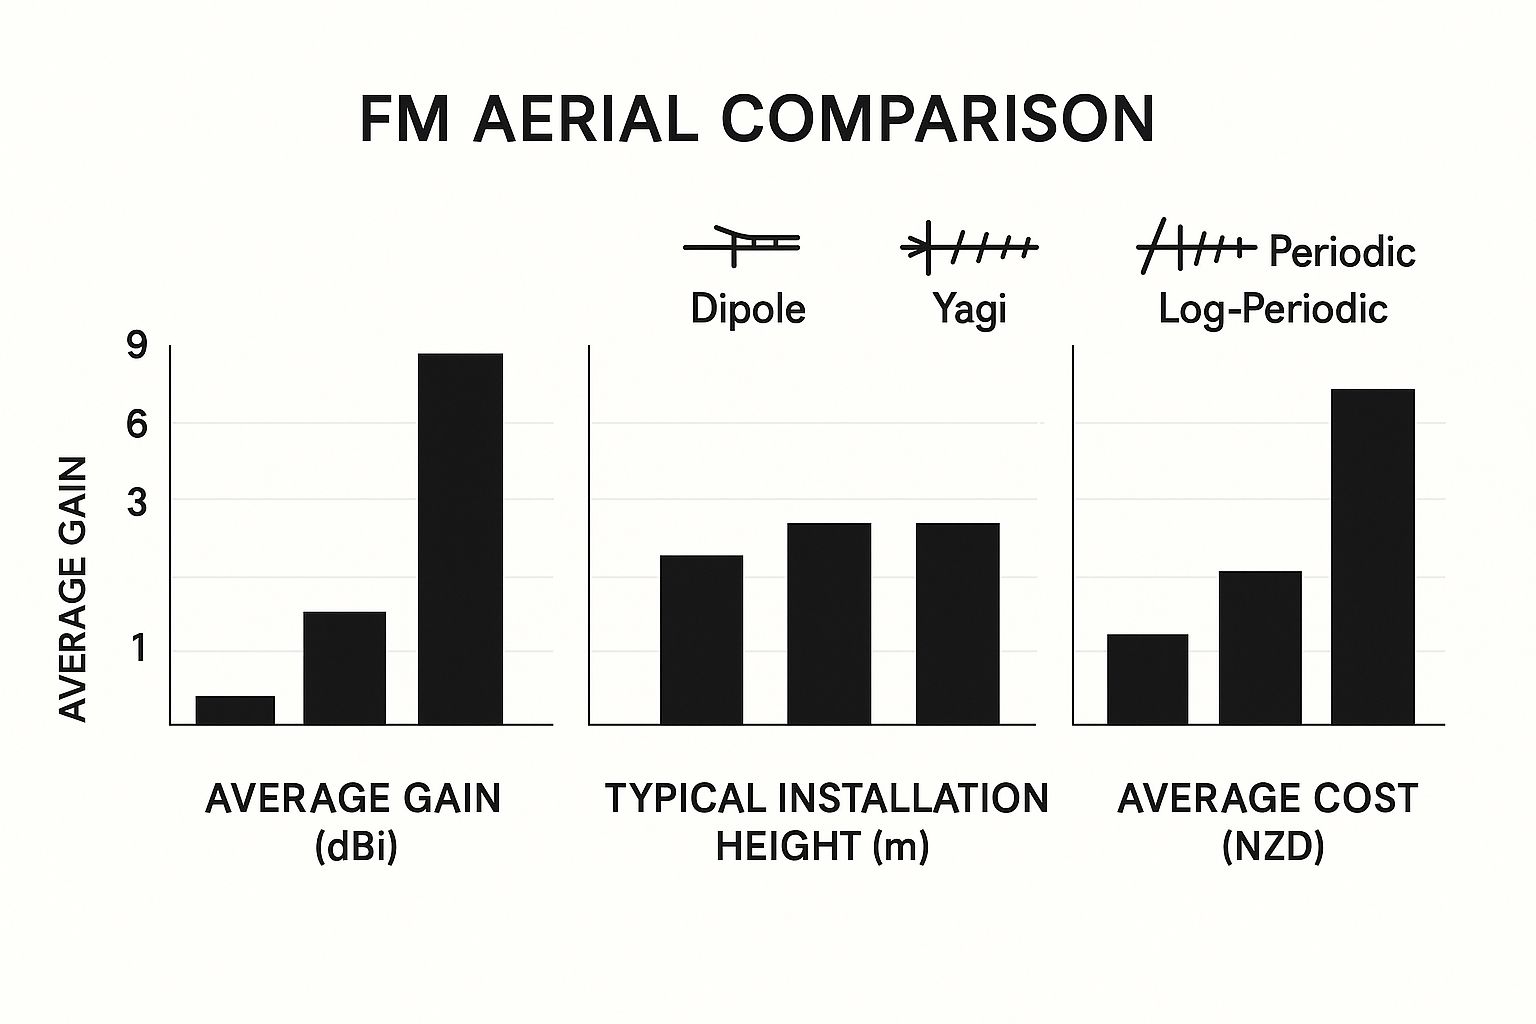
This infographic offers a quick overview of common FM aerial types: dipole, Yagi, and log-periodic. It compares them based on gain, installation height, and cost. Notice how Yagi antennas provide the highest gain, while dipole antennas are generally the most budget-friendly. This helps visualize the trade-offs involved in selecting an aerial type.
GME: Built for Harsh Environments
GME antennas are known for their ruggedness, especially in demanding coastal environments. Imagine a coastal farm in Northland constantly exposed to salt spray. A standard aerial would likely corrode quickly. But a GME antenna, built to withstand harsh conditions, continues delivering reliable reception. This resilience makes them a favourite among boat owners and farmers throughout New Zealand.
RFi: Urban Reception Specialists
RFi shines in urban environments, where multipath interference – caused by signals bouncing off buildings – can disrupt reception. Think of apartment dwellers in Wellington struggling with patchy radio signals. An RFi high-gain panel antenna, designed for these urban challenges, cuts through the interference to deliver a consistent signal, making RFi a solid choice for city living.

This screenshot from the RFi Solutions website shows their extensive range of antennas and communication solutions. This highlights their specialized expertise in the field, making them a reliable source for fm radio aerial nz.
Hi-Tech: The Versatile All-Rounder
Hi-Tech provides adaptable solutions for a wide range of environments. Picture a rural holiday home nestled in the hills. A Hi-Tech antenna, with its versatile design, can be positioned to effectively capture signals across the varying terrain. Their range caters to diverse needs, making them a popular choice for both urban and rural applications.
Comparing Key Specifications
To help you choose the right aerial, let's compare some key features of GME, RFi, and Hi-Tech antennas in the following table:
Comparison of GME, RFi, and Hi-Tech FM Aerials A side-by-side look at key specifications and best-use scenarios for GME, RFi, and Hi-Tech FM aerial models in New Zealand.
| Antenna Model | Gain (dBi) | Mount Type | Best Use Case | Approx. Price (NZD) |
|---|---|---|---|---|
| GME AE4000B | 6 | Masthead | Coastal/Marine | $150 |
| RFi D25 | 8 | Wall/Balcony | Urban/High-Rise | $120 |
| Hi-Tech HT9000 | 5 | Masthead/Roof | Rural/General Use | $80 |
This table highlights the different options available to suit various needs and budgets. GME prioritizes durability, RFi excels in urban reception, and Hi-Tech offers a versatile solution. Factors like mounting options and approximate costs also play a role in finding the perfect fit. For example, the robust GME AE4000B is ideal for coastal conditions, while the high-gain RFi D25 suits urban environments. The Hi-Tech HT9000 offers a cost-effective choice for general use.
Choosing the Right Aerial for Your Needs
Selecting the best fm radio aerial nz depends on your location and the reception challenges you face. Coastal properties will benefit from GME's resistance to salt spray. City dwellers seeking strong signals amidst multipath interference should consider RFi. And for a reliable all-rounder, Hi-Tech is a great option. You can learn more about GME's communication systems by checking out their XR Connect CrewTalk: Learn more about GME’s XR Connect CrewTalk
By considering these factors, you can choose an aerial that maximizes your FM radio enjoyment anywhere in New Zealand. Remember, understanding your individual needs and the strengths of each brand will ensure optimal performance and a clear, uninterrupted listening experience.
Installation Tips And Best Practices For NZ Conditions
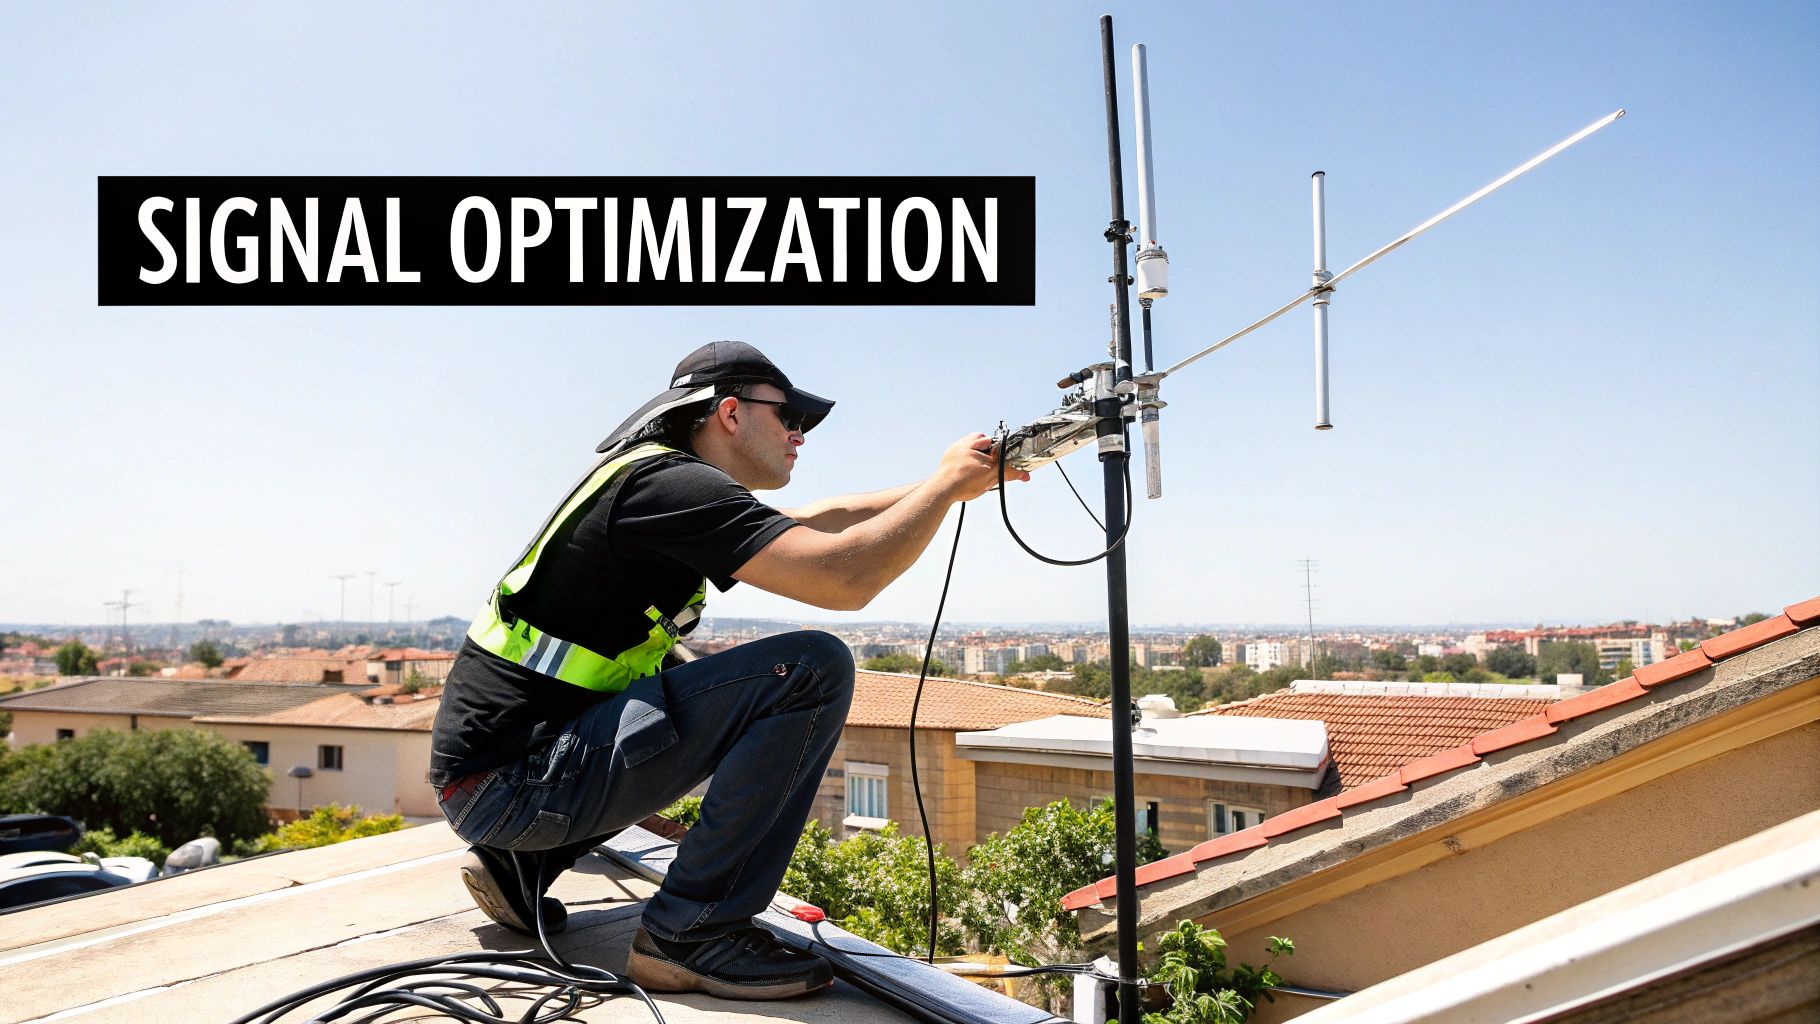
Setting up an FM radio aerial in New Zealand is a bit like finding the sweet spot on a radio dial – it takes a little tweaking to get it just right. Whether you’re tackling it yourself or bringing in a pro, understanding the local quirks can make all the difference.
Pre-Installation Checks: Setting the Stage
Before you even grab your tools, a few checks can save you headaches down the road. Think line of sight. Imagine trying to water your garden with a hose blocked by a fence. Your aerial needs a clear path to the transmitter, free from buildings or hills that can weaken the signal.
Mast height is also key. Generally, higher is better for clearing obstacles, but safety and local rules always come first. Don’t underestimate how much this affects your reception!
Finally, grounding is essential. It's not just about performance, but also protecting your equipment from electrical surges and minimizing interference – a bit like a lightning rod for your radio.
Polarization Alignment: Catching the Waves
Picture a surfer catching a wave – that's similar to how polarization works. In New Zealand, FM broadcasts mainly use horizontal polarization, so your aerial needs to be positioned horizontally to "catch" the signal. Even a small misalignment can dramatically reduce signal strength.
Weatherproofing: Battling the Elements
New Zealand's weather can be tough on equipment. Salt spray, wind, and rain can corrode your aerial and connections. Weatherproof sealant and marine-grade materials, especially in coastal areas, can add years to your FM radio aerial's lifespan.
Cable Routing: Minimizing Signal Loss
The cable connecting your aerial to the radio is like a water pipe – a long, narrow pipe restricts flow. Similarly, longer, lower-quality cables cause signal loss. Keep cables short and use high-quality, low-loss coaxial cable for the best results.
Co-location and Interference: Sharing the Space
Installing other antennas near your FM aerial, like for TV or Wi-Fi, can cause interference – they can effectively “talk over” each other. Proper spacing and different polarizations help minimize this. For helpful installation tips on other radio types, check out this guide: GME XRS Radio Install Tips
A Real-World Example
One weekend installer spent hours troubleshooting poor FM reception. He’d checked everything – connections, mast height, even replaced the aerial. A simple 15° tilt adjustment, suggested by a more experienced installer, drastically improved the signal, proving the importance of precise positioning.
Installation Checklist: A Quick Recap
Here’s a handy checklist for a smooth installation:
- Line of Sight: Is the path to the transmitter clear?
- Mast Height: Is it optimized for reception and safe?
- Grounding: Securely connected?
- Polarization: Horizontally aligned?
- Weatherproofing: Connections sealed?
- Cable Routing: Shortest, highest-quality cable used?
- Co-location: Enough space between antennas?
By following these tips and paying attention to detail, you can maximize your FM radio aerial’s performance and enjoy clear radio for years to come.
Maximising Performance And Troubleshooting FM Aerials
Even the best fm radio aerial nz setup can run into some real-world hiccups. Think about salty sea spray corroding connections on a coastal install, or a narrow valley creating weird signal reflections. This section dives into these practical problems and provides you with the tools to tackle them head-on.
Understanding Environmental Impacts
Terrain plays a massive part in how well you receive FM radio. Imagine sound travelling – hills and buildings get in the way of sound waves, just like they obstruct radio waves. Coastal areas present extra hurdles because reflective surfaces like the ocean scatter signals around. Grasping these environmental factors helps you predict potential problems and select an aerial that can handle the job.
Interference, such as electrical noise from household appliances or other radio signals, can also mess with your reception. In city areas, signals bouncing off buildings (multipath) create ghost signals that interfere with the main signal. Pinpointing these sources of interference is the first step in reducing their impact.
Finally, cable loss is a sneaky signal thief. Longer cables or those made of poor-quality materials can weaken the signal traveling from your aerial to your radio. Think of it like water pressure dropping in a long hose. Using high-quality, low-loss coaxial cable and keeping cable runs as short as possible will deliver a strong, clear signal.
Troubleshooting Tools and Techniques
Let's equip you with some diagnostic tools. An SWR meter works like your car's dashboard – it tells you how well your aerial, cable, and radio are working together. A high SWR reading points to a problem, maybe a damaged cable or a poorly placed aerial. Getting to grips with an SWR meter is a handy skill for any aerial enthusiast.
Smartphone signal apps are like a digital compass, showing signal strength from various directions. This helps you find the sweet spot for your aerial placement to get the best reception. These apps give you real-time feedback, allowing you to adjust your aerial's position for the strongest signal.
Sometimes, super-strong signals can overload your receiver and create distortion. An inline attenuator acts like sunglasses for your radio, dialing back the signal strength to a manageable level. This straightforward device can be surprisingly effective in strong signal areas.
Case Study: Remote Bach Restoration
Here’s a story from the field. A bach owner in a remote area was battling terrible FM reception. They upgraded to a directional Hi-Tech panel aerial and added 5 meters of low-loss coax. The directional aerial zeroed in on the signal, and the good quality cable minimized signal loss. The result? Crystal-clear radio bliss.
Quantifying Signal Loss
To illustrate how signal strength drops off over distance, and how different terrains impact this, let’s look at some typical figures for New Zealand.
The following table provides typical signal loss estimates for various terrains in New Zealand:
Signal Loss vs. Distance in Typical NZ Terrain Estimated decibel loss per kilometre in urban, rural, and coastal terrains, illustrating how environment affects FM reception in NZ.
| Terrain Type | Estimated Signal Loss (dB/km) |
|---|---|
| Urban | 3-5 |
| Rural | 1-2 |
| Coastal | 2-4 |
As you can see, signal strength weakens over distance, with urban environments suffering the most due to buildings and other obstacles. Coastal regions see moderate loss due to signal reflection. This data helps you anticipate potential issues and plan your installation effectively.
By understanding environmental factors, using the right diagnostic equipment, and applying effective troubleshooting techniques, you can get the most out of your fm radio aerial nz and enjoy crisp, clear FM radio, wherever you are in New Zealand.
Local NZ Suppliers And Conclusion
So, you've grasped the fundamentals of FM radio aerials. You understand the different types, how they work, and what makes a good installation. But where do you actually get these things in New Zealand? And who's going to put it up for you? This section points you in the right direction for reliable suppliers and installers, particularly for popular brands like GME, RFi, and Hi-Tech, and wraps up our comprehensive guide.
Where To Buy Your FM Radio Aerial in NZ
Numerous reputable online retailers in New Zealand offer a wide range of FM radio aerials. You'll find plenty of options from brands like GME, RFi, and Hi-Tech. When choosing a retailer, pay attention to their warranty and return policies – it's always good to have a safety net. Practicalities matter too: consider shipping costs and delivery times, especially if you're not in a main centre.
Finding Qualified Installers
While a DIY approach is possible, professional installation is often the best way to go. If you're in a major city like Auckland, Wellington, or Christchurch, you’ll find plenty of technicians specializing in FM radio aerial installations. A great way to find a trustworthy installer is through word-of-mouth. Ask friends, neighbours, or check out online forums like Geekzone for recommendations. This way, you can find someone reliable who'll do the job right.
The Value of Community Forums
Speaking of online communities, places like Geekzone are incredible resources. Think of them as a digital gathering of enthusiasts and experts, ready to share their experiences and offer advice. If you’re troubleshooting a tricky reception problem or need specific information about FM aerials in NZ, don't hesitate to tap into the collective wisdom of these forums.
Action Plan: Securing Clear FM Reception
Let's quickly recap the key steps to enjoying crystal-clear FM radio:
- Match Your Terrain: If you’re by the coast, GME’s corrosion-resistant models are your best bet. In urban areas, RFi's high-gain designs can help combat interference. Hi-Tech offers versatile choices for various locations.
- Follow Best Installation Practices: Aim for a clear line of sight, optimize your mast height, properly ground the aerial, and use high-quality, low-loss coaxial cable. Getting the polarization right (usually horizontal in NZ urban areas) is also crucial.
- Apply Troubleshooting Tips: Tools like SWR meters and smartphone signal apps can help pinpoint reception issues. If your signal is too strong, an inline attenuator can prevent overload.
Whether you're tackling the installation yourself or hiring a professional, these steps will set you up for great FM radio enjoyment.
Conclusion: Enjoying Uninterrupted FM Radio Across NZ
In this guide, we’ve covered everything from the basics of FM radio aerials to the nitty-gritty of installation and troubleshooting, even touching on specific brands available in New Zealand. Armed with this knowledge, you’re ready to tackle New Zealand’s diverse landscapes and enjoy clear, high-quality FM radio, whether you're in the heart of the city or exploring the countryside. Remember, the right aerial and proper installation are the keys to unlocking a world of crisp, clear audio.
Ready to upgrade your listening experience? Check out Mobile Systems Limited for a wide range of communication solutions designed for New Zealand conditions.
